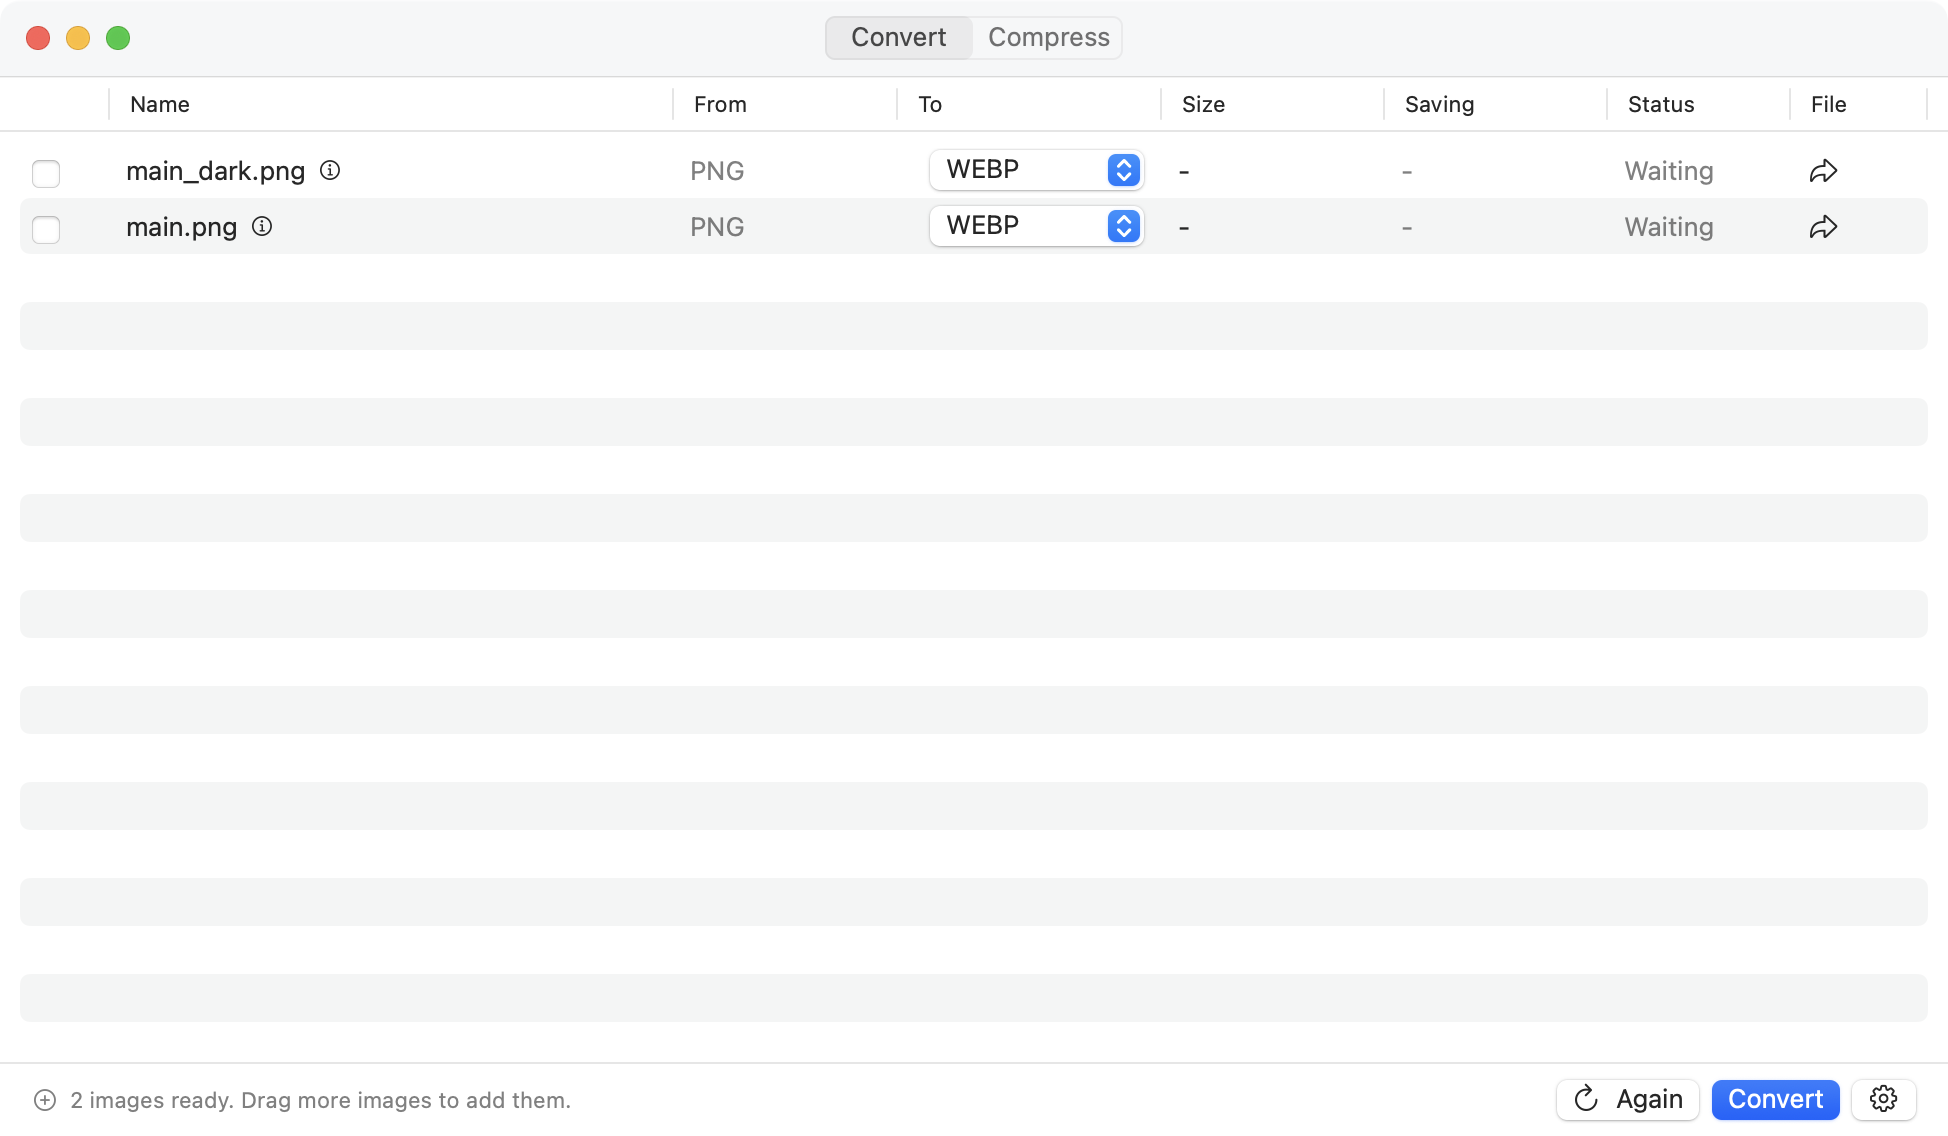
How to batch convert images on Mac: Complete Guide
Whether you’re a photographer processing hundreds of RAW files, a web developer optimizing images for a website, or someone who just needs to convert a folder of images to a different format, batch conversion can save you hours of manual work.
Method 1: Using macOS Preview (Built-in)
Step-by-Step Instructions
- Select your images: In Finder, select all the images you want to convert by clicking the first image, then holding Shift and clicking the last image.
- Open in Preview: Right-click and choose “Open With” → “Preview”
- Select all in Preview: Press Cmd+A to select all images in the sidebar
- Export: Go to File → Export Selected Images…
- Choose format: In the dialog, select your desired format (JPEG, PNG, TIFF, etc.)
- Set quality: Adjust quality settings if available
- Export: Choose destination folder and click “Choose”
✅ Pros: Free, built-in, no installation required ❌ Cons: Limited format support, basic options only
Method 2: Using Automator (Advanced Built-in)
Creating a Reusable Workflow
- Open Automator: Find it in Applications or use Spotlight search
- Create new workflow: Choose “Workflow” when prompted
- Add “Get Selected Finder Items”: Drag this action from the library
- Add “Change Type of Images”: Search for this action and drag it below the first one
- Configure format: Choose your target format (JPEG, PNG, TIFF, etc.)
- Save workflow: File → Save and give it a descriptive name
- Use it: Select images in Finder, right-click → Services → Your Workflow Name
Method 3: Using Command Line (Terminal)
Using ImageMagick
# Install ImageMagick via Homebrew
brew install imagemagick

# Convert all JPEG files to PNG
magick *.jpg -format png -path ./converted %t.png

# Resize and convert
magick *.jpg -resize 800x600 -format webp ./converted/%t.webp
⚡ Pros: Very powerful, scriptable, supports all formats ⚠️ Cons: Command line only, steep learning curve
Method 4: Using Dedicated Apps
Why choose a dedicated app?
✅ Advantages
- User-friendly interface
- More format options
- Advanced compression settings
- Batch processing features
- Preview capabilities
- Metadata management
Popular Options
- Picmal - Privacy-focused, native macOS
- ImageOptim - Web optimization focus
- Squash - Simple compression tool
- BRAW Toolbox - Professional video/RAW
Choosing the Right Method
Decision Matrix
🆓 Occasional Use (< 50 images/month) Use macOS Preview - it’s free and handles basic conversions well
🔄 Regular Use (50-500 images/month) Consider Automator workflows or a dedicated app like Picmal for better efficiency
🏢 Professional Use (500+ images/month) Invest in professional tools or learn command line for maximum control and speed
Best Practices
- Always backup originals: Keep a copy of your source files before batch converting
- Test with a small batch first: Verify settings work correctly before processing hundreds of files
- Use descriptive naming: Add prefixes or suffixes to distinguish converted files
- Consider organization: Create separate folders for different formats or purposes
- Monitor quality: Check a few converted images to ensure quality meets your needs
Use Picmal to easily convert your media on your Mac
If you're not happy with your purchase, you can request a refund within 14 days.
Buy now