How to Organize Digital Photos Like a Pro
Let’s be honest: your digital photos are a mess. We all have that camera roll with thousands of unsorted images, plus more scattered across old phones, laptops, and random cloud services. Finding that one great shot from a vacation two years ago feels like an impossible task.
This isn’t just about clutter. It’s about the frustration of staring at filenames like IMG_4789.JPG, hoarding countless duplicates, and the nagging fear that you could lose precious memories forever.
The problem only gets bigger every day. By 2025, the world is expected to capture a staggering 2.1 trillion photos annually, with smartphones taking about 94% of them. That’s a tidal wave of data that demands a system. You can read more about these photo trends and what they mean for our digital lives.
The good news is that you don’t need complicated software or a week-long project to fix it. The solution is a straightforward system you can actually stick with.
The Four Pillars of Photo Organization
I’ve broken the entire process down into four core concepts. Think of these as the foundation for building a digital library you’ll actually enjoy using.
Before we dive into the step-by-step details, here’s a quick overview of the game plan. These four pillars are the key to turning digital chaos into an organized, accessible, and safe collection of your memories.
| Pillar | Objective | Key Action |
|---|---|---|
| Centralization | Create a single source of truth | Gather all photos from all devices into one master library. |
| Folder Structure | Make browsing intuitive | Organize photos into a logical hierarchy (e.g., by year and event). |
| Naming Convention | Make photos searchable | Rename files with dates and descriptions instead of
|
| Backup Strategy | Protect your memories | Implement a reliable system to prevent data loss. |
Mastering these four areas will do more than just clean up your hard drive; it will make your photos useful and enjoyable again.
This isn’t just about tidying up a mess. It’s about reclaiming your digital life and ensuring your most cherished moments are preserved and easy to find for years to come.
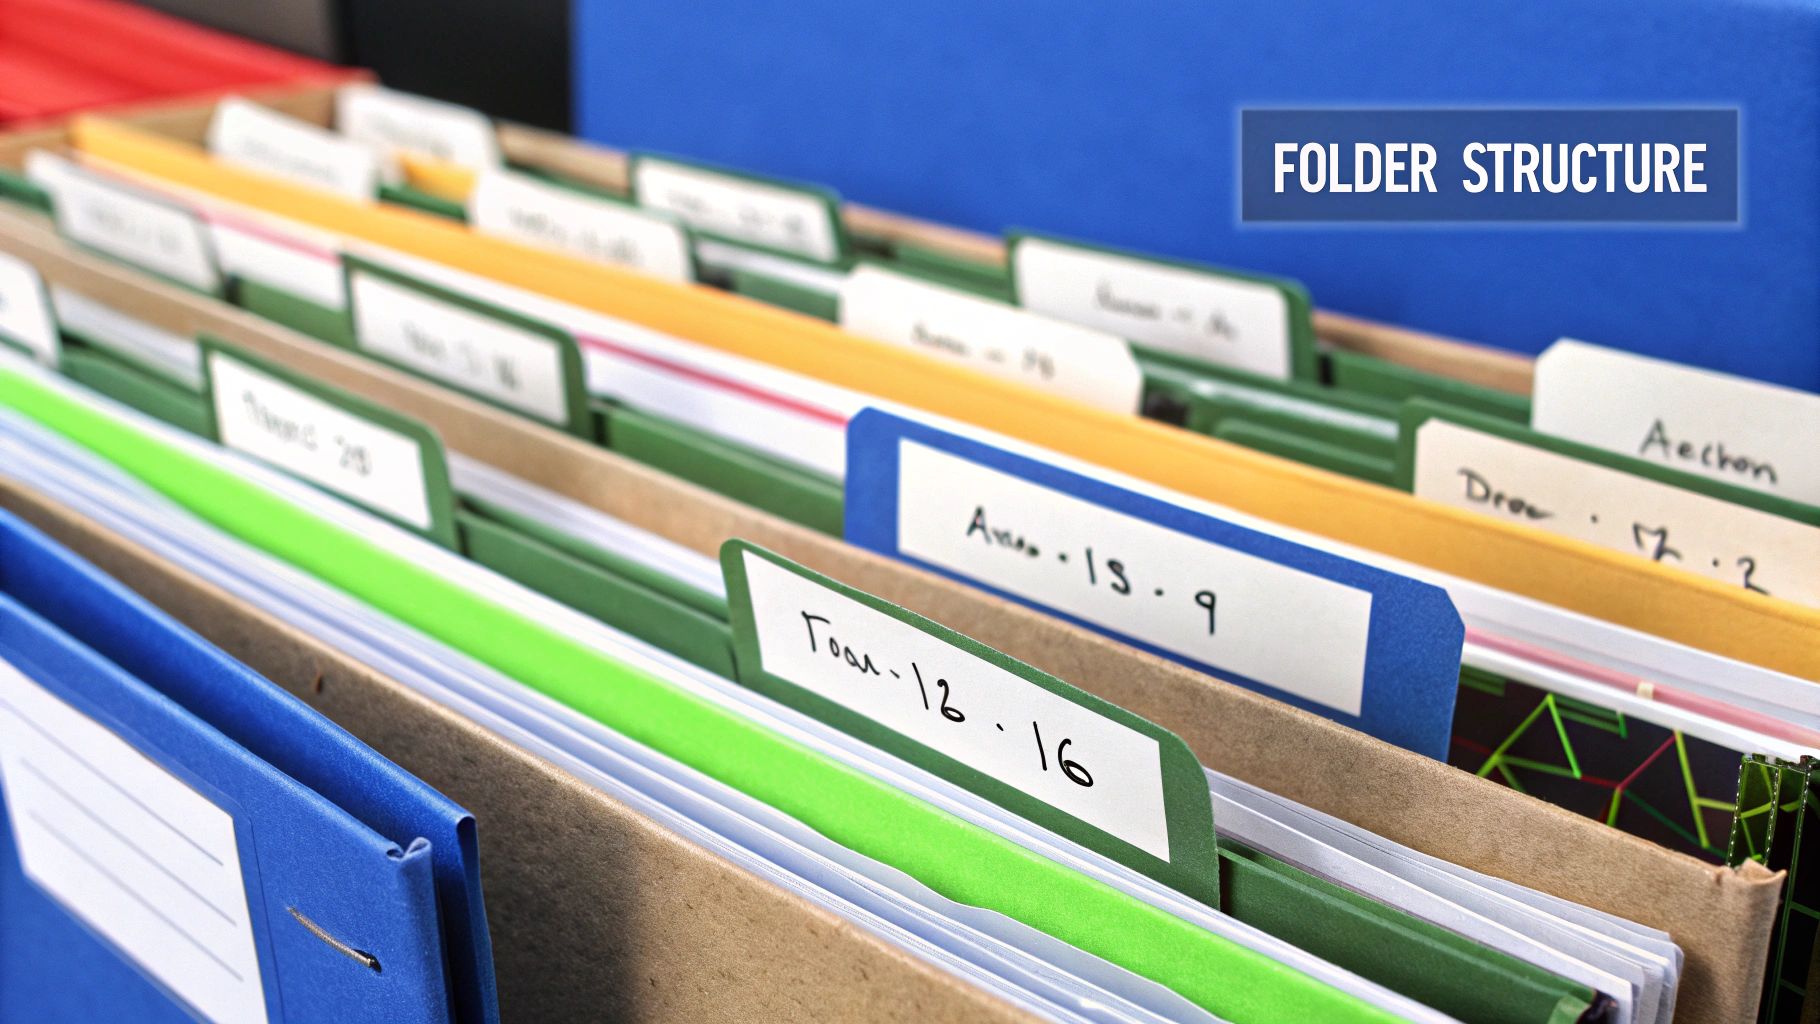
Building Your Future-Proof Folder Structure
 With all your photos finally in one place, it’s time to build the digital scaffolding that will hold them together. This folder structure is probably the single most important decision you’ll make. It dictates how you’ll find, browse, and add images for years to come.
The goal isn’t some overly complex system you’ll abandon in a month. It’s about creating a structure so intuitive you don’t even have to think about it.
After years of trial and error, I’ve found that almost everyone succeeds with one of two battle-tested methods: the chronological system or the thematic system. The right one for you boils down to how your brain works and how you recall memories.
The Chronological Method: Time-Based Logic
This is the most popular approach for a reason: it’s simple, it scales perfectly, and it mirrors how we experience life. You organize everything based on when the photos were taken, starting with the year and drilling down to the specific event.
This system is perfect if you tend to remember things like, “That was the summer of 2022,” or “We went to the beach in October.”
The structure is dead simple and predictable. At the top level, you have a folder for each year. Inside each year, folders for each month. And within those, folders for specific events.
Here’s what that looks like in practice:
- Top-Level:
2023 - Second-Level:
01-January - Third-Level:
New Years Eve Party
I always recommend numbering the month folders (e.g., 01-January, 02-February). This small tweak forces them to appear in the correct order, not alphabetically. Trust me, it makes navigating your library so much faster. The full path for a photo from that Halloween party would be Photos/2023/10-October/Halloween Party.
The real beauty of the chronological system is that it’s completely future-proof. Dates are absolute. They will never change, ensuring your organizational logic stays consistent as your collection grows over the next decade.
The Thematic Method: Topic-Based Organization
What if your memories are tied more to subjects than dates? If you think in terms of projects, hobbies, or categories, the thematic system might be a perfect fit.
This method is fantastic for photographers, designers, or anyone whose photo library revolves around specific buckets like “Client Work,” “Travel,” or “Family.” It prioritizes what the photos are of, not when they were taken.
Your top-level folders represent these broad categories. From there, you can still use dates to bring order to the sub-folders, creating a powerful hybrid system that’s incredibly flexible.
Let’s look at a real-world example:
- Top-Level:
Travel - Second-Level:
Italy 2022 - Third-Level:
Rome Colosseum
This method really shines when you need to pull together all photos related to a single topic. Imagine creating a family vacation album—you could just go to the Travel folder and find everything you need in one spot, regardless of the year.
Your main categories are entirely up to you. You might have folders for:
- Family Events
- Professional Headshots
- Nature Hikes
- Home Renovation Projects
Choosing the Right System For You
There’s no single “best” system here. The right folder structure is the one that feels natural and requires the least amount of effort for you to maintain. How do you search for photos right now? Do you think of a date or a subject first?
This table might help you decide:
| Consideration | Chronological Method | Thematic Method |
|---|---|---|
| Best For | Personal photos, family events, and documenting everyday life. | Project-based work, hobbyists, and specific topical collections. |
| Primary Logic | When was the photo taken? | What is the photo of? |
| Scalability | Excellent. Adding a new year is simple and predictable. | Good, but requires a bit more planning for your main categories. |
| Ease of Use | Very high. It’s an intuitive “set it and forget it” system. | High, but only if you define your themes clearly from the start. |
Honestly, consistency is far more important than the specific method you choose. Pick the structure that clicks with your way of thinking, create those main folders, and stick with it. Getting this foundation right will make every other part of organizing your photos feel effortless.
Mastering File Names and Tags for Easy Search
A logical folder structure is your organizational backbone, but honestly, it’s only half the battle. When you need that one specific photo of your dog catching a frisbee, you don’t want to sift through a “2023 > 07-July > Park Day” folder with hundreds of files.
This is where a smart file naming convention and metadata tagging transform your library from a simple collection into a powerful, searchable database.
Leaving default camera filenames like IMG_5821.JPG or DSC_0456.NEF is a dead end. They tell you nothing. A descriptive filename, on the other hand, gives you instant context, even when you’re just looking at it in a basic file browser.
Crafting the Perfect File Name
Consistency is everything here. The goal is a format that’s easy for you to read and for any computer to sort correctly. After years of tweaking, I’ve landed on a simple but incredibly effective Date_Event_Sequence pattern.
This structure puts the most critical info right up front and guarantees your files will sort chronologically by default—a massive help.
Here’s the breakdown of my go-to format:
- YYYY-MM-DD: Always start with the date like this (e.g.,
2023-10-31). It’s the international standard and ensures proper sorting by year, then month, then day. - Event-Description: Next, add a short, descriptive name for the event. Use hyphens instead of spaces (like
Halloween-PartyorHike-at-Bear-Mountain). - Sequence-Number: Finish with a three or four-digit number (
_001,_002). This keeps everything in the original shooting order and avoids filename conflicts.
Putting it all together, that useless IMG_5821.JPG becomes 2023-10-31_Halloween-Party_027.JPG. Instantly, you know the when, the what, and where it sits in the day’s timeline.
Pro Tip: Don’t ever rename your files manually one by one. This is what batch processing was made for. Tools like Adobe Bridge, Lightroom, or other dedicated apps have powerful batch-renaming features that can apply your new convention to hundreds of photos in seconds.
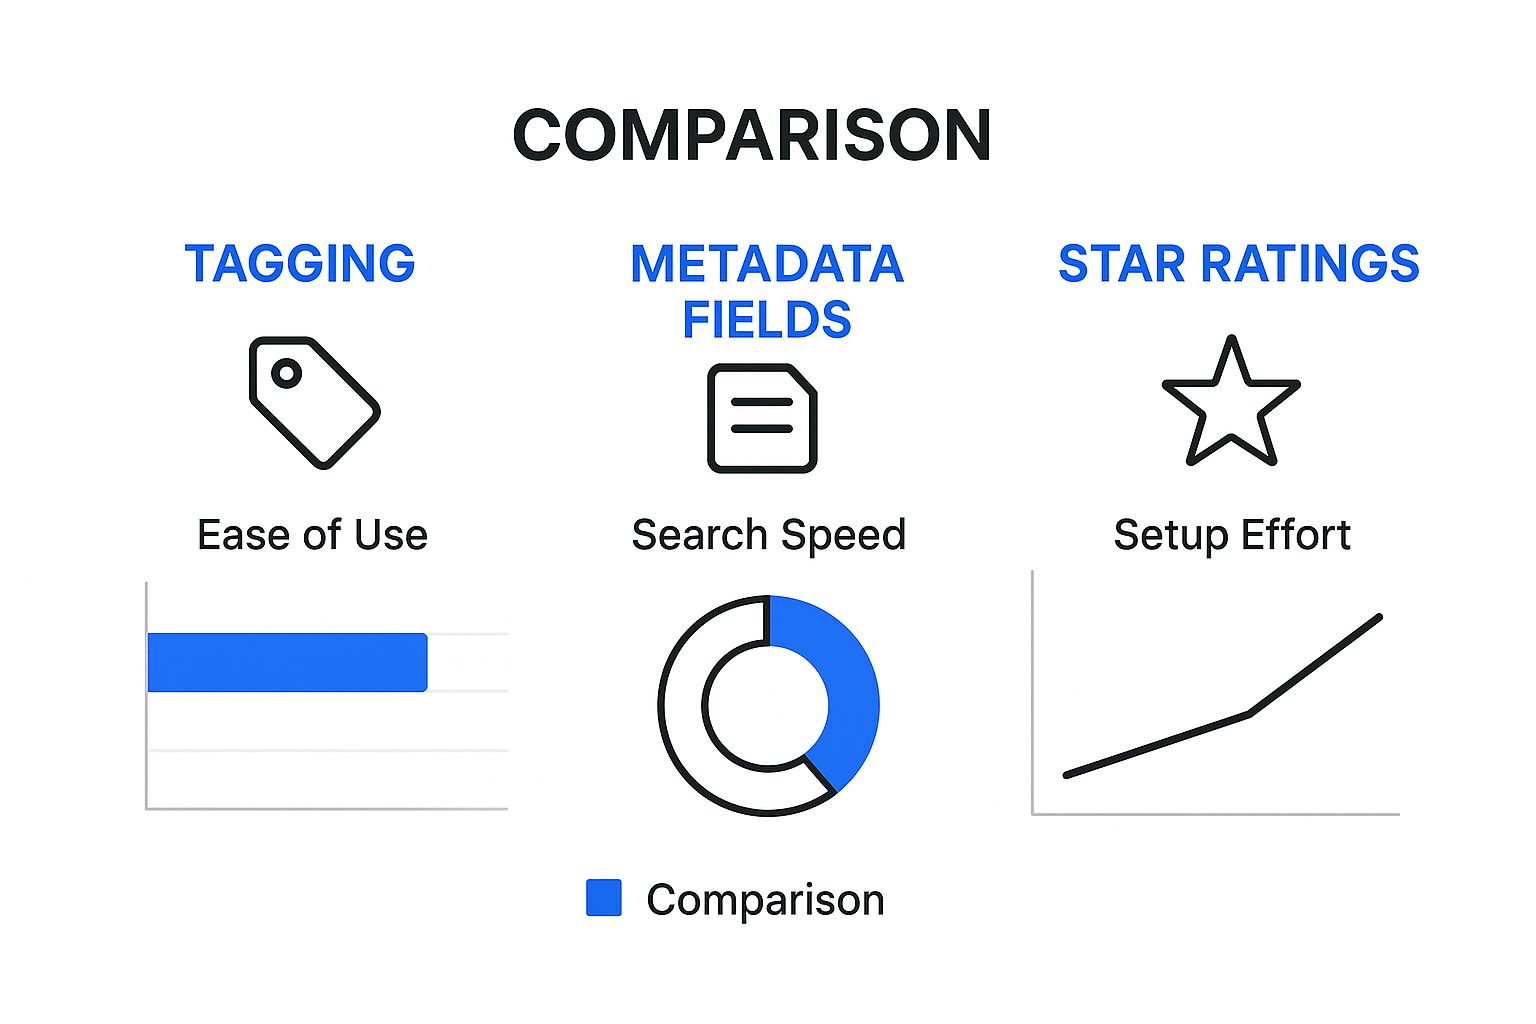
The Real Magic of Metadata and Tagging
While filenames are great for a quick glance, metadata is what gives your library true search superpowers. Metadata is all the extra information embedded inside the image file itself—camera settings, keywords, ratings, you name it.
Think of it this way: your folder structure is the filing cabinet, the filename is the label on each folder, and metadata tags are the index cards inside that tell you exactly what’s in each photo. You can dive deeper into how this works by learning what an image file format is and how it organizes all this data.
The most valuable pieces of metadata you can add yourself are keywords, ratings, and location data.
Using Keywords for Content Search
Keywords (or tags) are just descriptive labels. This is where you can get really specific. While a photo’s filename might be 2024-01-15_Zions-National-Park_112.JPG, its keywords could include:
ZionUtahNational ParkHikingLandscapeSunsetAngels LandingFamilyJaneJohn
With these tags in place, you can instantly pull up every photo of Jane, every sunset picture you’ve ever taken, or all your shots from national parks, no matter what year it was or which folder they’re in. The key is to be consistent. I recommend creating a core list of keywords for people, places, and activities you shoot often.
Star Ratings for Quality Control
Let’s be real: not every photo is a winner. For every great shot, you probably have a dozen near-duplicates or blurry attempts. A simple rating system is perfect for this. I use a basic five-star system to quickly separate the keepers from the duds.
| Star Rating | My Personal System |
|---|---|
| ★☆☆☆☆ | Marked for immediate deletion. Blurry, bad exposure, eyes closed. |
| ★★☆☆☆ | Technically okay, but not a great shot. I might delete it later. |
| ★★★☆☆ | A solid, usable photo. Good enough to share with family. |
| ★★★★☆ | An excellent shot. Well-composed, sharp, and memorable. |
| ★★★★★ | The absolute best of the best. The kind of images you print. |
This process, often called “culling,” is essential. After any shoot or trip, I do a quick pass and apply ratings. Then, I can filter my view to only show 3-star photos and above, hiding all the clutter. This makes finding your highlights so much easier and saves you from decision fatigue down the road.
Choosing Your Photo Management Toolkit
Once you’ve got a solid plan for your folders and filenames, the next step is picking the right software to pull it all together. This is the digital home where your library will live, so choosing the right one is a big deal. The market is packed with options, but the choice really boils down to two core philosophies: local software or cloud-based services.
This isn’t just about bells and whistles; it’s about control, cost, and how you want to access your photos. Let’s break down both approaches to see which one fits your life.
Local Software: The Digital Darkroom
Local software means the application lives right on your computer, and your photos are stored on your own hard drives—whether internal or external. Think of professional-grade tools like Adobe Lightroom Classic, Capture One, or Luminar Neo.
With this setup, you are in the driver’s seat. You have complete control over your original files from start to finish.
This approach is a natural fit for serious photographers, hobbyists, or anyone who puts a high value on privacy and direct control. Since everything is handled on your machine, you don’t need an internet connection to organize, edit, or view your photos. It just works.
But all that control comes with responsibility. You’re the one in charge of your own backups, and getting your full library onto other devices can be clunky, often requiring manual syncing or separate mobile apps with stripped-down features.
Cloud Services: The Connected Library
Cloud-based services, like Google Photos, iCloud Photos, or Amazon Photos, work differently. They store your entire photo library on remote servers, prioritizing easy access and automatic syncing across all your devices.
This convenience has completely changed how most people manage their memories. The number of personal cloud storage users is projected to jump from 1.1 billion in 2014 to a staggering 2.3 billion by 2025. Today, Google Drive alone has a 94% adoption rate among people who store photos in the cloud. You can dig into more of these trends in this detailed photo storage analysis.
These services are fantastic at automatic organization. Their powerful AI can make your photos searchable by what’s in them—type in “beach sunset” or “dog in snow,” and you’ll get results instantly. The trade-off? You’re locked into a subscription for storage, there are potential privacy questions, and you get far less say over file formats and metadata. If you’re managing different file types, it’s worth understanding the best image formats for different needs to make the most of your storage plan.
Your choice between local and cloud tools isn’t just a technical decision—it’s a lifestyle one. It’s about weighing the power of direct control against the freedom of universal access.
To give you a better feel for how these two worlds stack up, here’s a look at where each one shines.
The chart makes it clear: cloud services get you up and running faster with powerful search, but local software gives you unmatched, precise control over your metadata.
Local Software vs Cloud Storage Showdown
So, how do you actually decide? There’s no single right answer, just the best fit for your workflow, budget, and comfort level. Let’s put them head-to-head on the factors that matter most.
| Feature | Local Software (e.g., Lightroom) | Cloud Service (e.g., Google Photos) |
|---|---|---|
| Primary Cost | One-time license or software subscription. Storage is the cost of your own hard drives. | Monthly/annual subscription for storage space, usually with a free starter tier. |
| Privacy | Maximum privacy. Your files never leave your drives unless you choose to share them. | Lower privacy. Your images are stored on company servers, subject to their terms of service. |
| Accessibility | Limited. Access is mainly on your primary computer. Syncing to mobile is often restricted. | Excellent. Your full library is available on any device with an internet connection. |
| Control | Full control. You manage the original files, formats, backups, and all metadata. | Limited control. The service might compress files and imposes its own organizational logic. |
| AI Search | Varies by tool, but generally less powerful for content-based searches (e.g., “cat on a chair”). | Exceptional. Advanced AI can identify objects, people, locations, and scenes automatically. |
| Backup | Your responsibility. You must set up and maintain your own backup system. | Automatic. The service handles backups and data redundancy for you as part of the fee. |
Ultimately, the right tool is the one that gets out of your way and makes managing your photos feel effortless.
If you’re a professional or a serious enthusiast who needs fine-grained control and puts privacy first, local software is almost certainly your best bet. But if you value seamless syncing, automatic backups, and powerful AI search for a family photo collection, a cloud service is an excellent, hassle-free choice.
Creating a Bulletproof Backup Strategy
Let’s be honest. All the time you’ve spent creating the perfect folder structure and meticulously naming every file means absolutely nothing if your hard drive dies. Your memories are irreplaceable, and protecting them isn’t just a good idea—it’s the critical final step.
A single copy of a photo, no matter how organized, is just a ticking time bomb. This is where a real backup strategy comes in, and the gold standard is elegantly simple: the 3-2-1 Backup Rule.
The 3-2-1 Backup Rule is a time-tested strategy that states you should have three copies of your data, stored on two different types of media, with one of those copies stored off-site.
It might sound like overkill, but it’s surprisingly easy to set up for a personal photo library. More importantly, it’s the most reliable way I know to make sure your digital life can survive pretty much any disaster.
Putting the 3-2-1 Rule into Practice
So, what does this actually look like for your photo collection? The whole point is to build in redundancy, so no single point of failure can wipe out your memories.
-
Three Copies of Your Data: This is your original file plus two complete backups. If one copy gets corrupted or a drive fails, you still have two others to fall back on. Simple.
-
Two Different Media Types: This prevents a specific tech failure from taking out all your copies at once. Think about it: keeping your backup on the same computer as the original is risky. The best approach is to use your computer’s internal drive for one copy and a separate, external hard drive for the other.
-
One Off-Site Copy: This is the game-changer. It protects you from localized disasters like fire, flood, or even theft that could destroy everything in your home. An off-site backup is physically located somewhere else, making it your ultimate safety net.
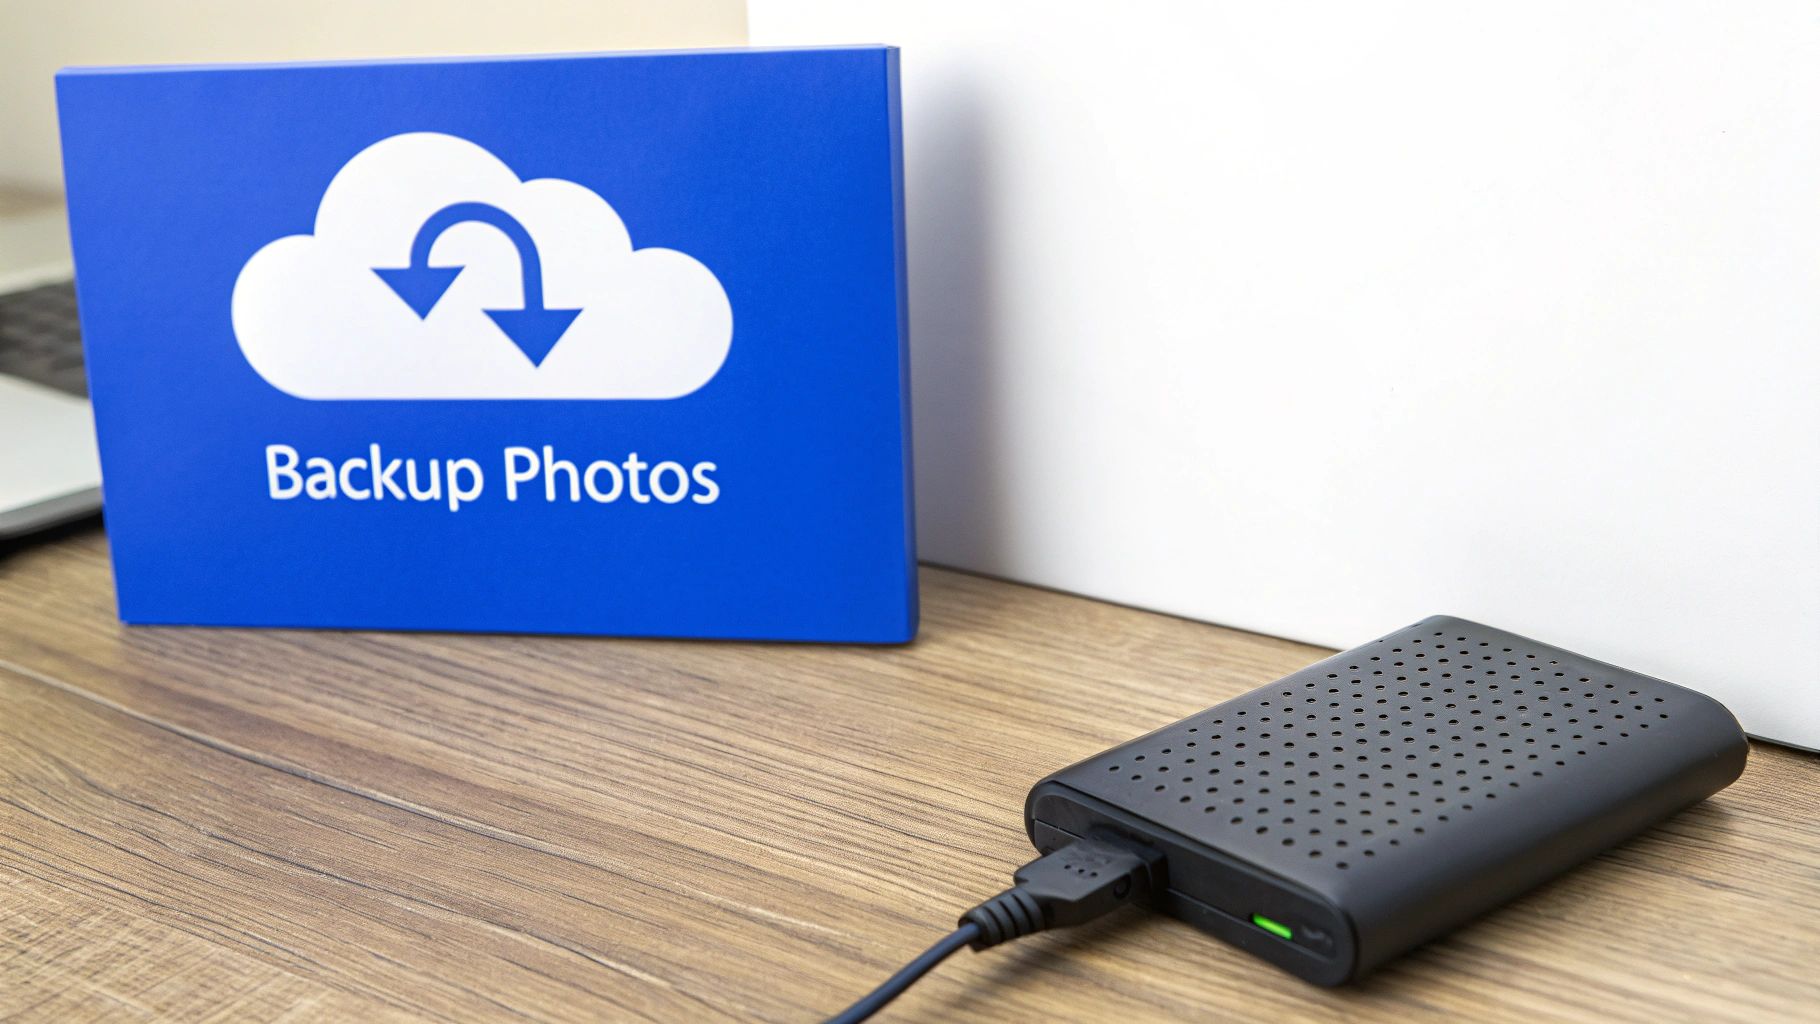
Building Your Personal Backup System
The easiest and most effective way to nail the 3-2-1 rule today is to combine a local backup with a cloud backup. This setup gives you the best of both worlds: fast local access and ironclad off-site security.
-
Your Primary Library (Copy 1): This is the master collection of photos on your computer’s main drive (internal or external). It’s the library you actively manage and edit.
-
Local Backup (Copy 2, Media 2): Get a dedicated external hard drive (an HDD or SSD) that you use only for backups. Tools like Apple’s Time Machine or Windows File History can automatically clone your photo library to this drive on a regular schedule. If your primary drive fails, you have an instant, local copy ready to go.
-
Off-Site Backup (Copy 3, Off-Site): A cloud storage service is the perfect modern answer for your off-site copy. Services like Backblaze or iDrive can automatically sync your entire photo library to their secure servers. If a disaster ever strikes your home, this cloud copy remains completely safe and accessible from anywhere with an internet connection.
Working Library vs. Archive: A Smart Distinction
As your library grows into the thousands (or tens of thousands), it helps to think of it in two parts: your working library and your archive. This isn’t about creating different backup routines, but about managing your primary storage more effectively.
You can keep your working library—recent shoots, current projects, your absolute favorites—on your computer’s fast internal drive. Meanwhile, your archive of older photos can live on a larger, dedicated external hard drive.
| Library Type | Purpose | Content Example |
|---|---|---|
| Working Library | Holds recent and frequently accessed photos. | The current year’s photos, ongoing projects, and your “best of” collection. |
| Archive | Stores older photos you don’t need daily access to. | Photos from five years ago, completed projects, and entire vacation folders. |
Both of these locations should still be included in your 3-2-1 backup routine. This approach keeps your main computer lean and fast without cluttering it up, all while ensuring every single photo remains fully protected.
Maintaining Your Organized Library for Good
You’ve done the heavy lifting. The folders are structured, the files are perfectly named, and your backups are secure. The hardest part is over, but now comes the most important piece of the puzzle: turning this one-time project into a sustainable habit.
If you don’t have a simple maintenance routine, the digital mess will creep back in. It’s inevitable.
The goal is to stop photos from piling up in the first place. Forget about a massive, dreaded annual clean-up. Instead, think in small, consistent actions. By weaving photo management into your regular workflow, you keep the task from ever feeling overwhelming again. This isn’t about adding another chore; it’s about building an efficient process that becomes second nature.
Create a Simple Maintenance Routine
The most effective way to stay on top of things is to schedule a recurring “import and sort” session. For most people, a monthly check-in is the perfect rhythm. Just set aside 30 minutes at the end of each month to process all the new photos you’ve taken.
During this quick session, your goals are simple:
- Import everything: Pull in photos from your phone, your camera’s SD card, and anywhere else they’ve landed.
- Sort and rename: Move the new files into your established folder structure (e.g.,
2024 > 05-May > Weekend Trip) and run your batch-renaming tool. - Cull and rate: Do a quick pass to delete the obvious duds—the blurry shots, the accidental pocket photos—and maybe apply a star rating to your absolute favorites.
This small time investment prevents thousands of photos from becoming a problem. It’s a proactive habit that keeps your library clean with minimal effort.
A consistent monthly routine is the difference between a photo library that works for you and one that becomes another source of digital clutter. Treat it like any other important appointment.
Handling Photos from Every Source
Let’s be real—your photos come from everywhere. There’s your phone, your “real” camera, downloads from social media, and maybe even scans of old family prints. A solid maintenance routine needs a plan to funnel all these streams into one central, orderly place.
This is more critical than ever. The digital photography market was valued at USD 55.6 billion in 2023 and is projected to hit USD 87.3 billion by 2032. That explosion in image creation from countless devices makes a unified strategy essential.
To keep things streamlined, you might need to convert images from different sources into a consistent format. If you’re on a Mac and juggling various file types, learning how to batch convert images on your Mac is a game-changer. It ensures every photo, no matter its origin, fits perfectly into your library.
By treating all incoming photos with the same simple process—import, sort, rename—you create a single, cohesive, and beautifully organized collection for good.
A Few Common Questions
What’s the Best Folder Structure for Photos?
Honestly, the best structure is the one you’ll actually stick with. There’s no single “right” answer.
For most of us, a simple chronological system like Year > Month > Event is the most natural and easiest to maintain. But if your photos are tied to specific projects—like client work or a personal creative series—a theme-based folder system might make more sense.
The key is to pick a system, commit to it, and not overcomplicate things.
Should I Use an External Hard Drive or the Cloud?
Why not both? The safest bet is to follow the classic 3-2-1 backup rule.
It’s a simple concept:
- Keep 3 total copies of your photos.
- Store them on 2 different types of media (like an external drive and a cloud service).
- Have at least 1 copy stored off-site (that’s where the cloud comes in).
An external drive gives you fast, local access, while a cloud service like Backblaze or iDrive protects you from a fire, flood, or theft.
Don’t try to organize a decade’s worth of photos in one weekend. You’ll burn out. Start with this month’s pictures, get your system down, and then work your way backward. This makes the whole process feel manageable and helps you build a lasting habit.
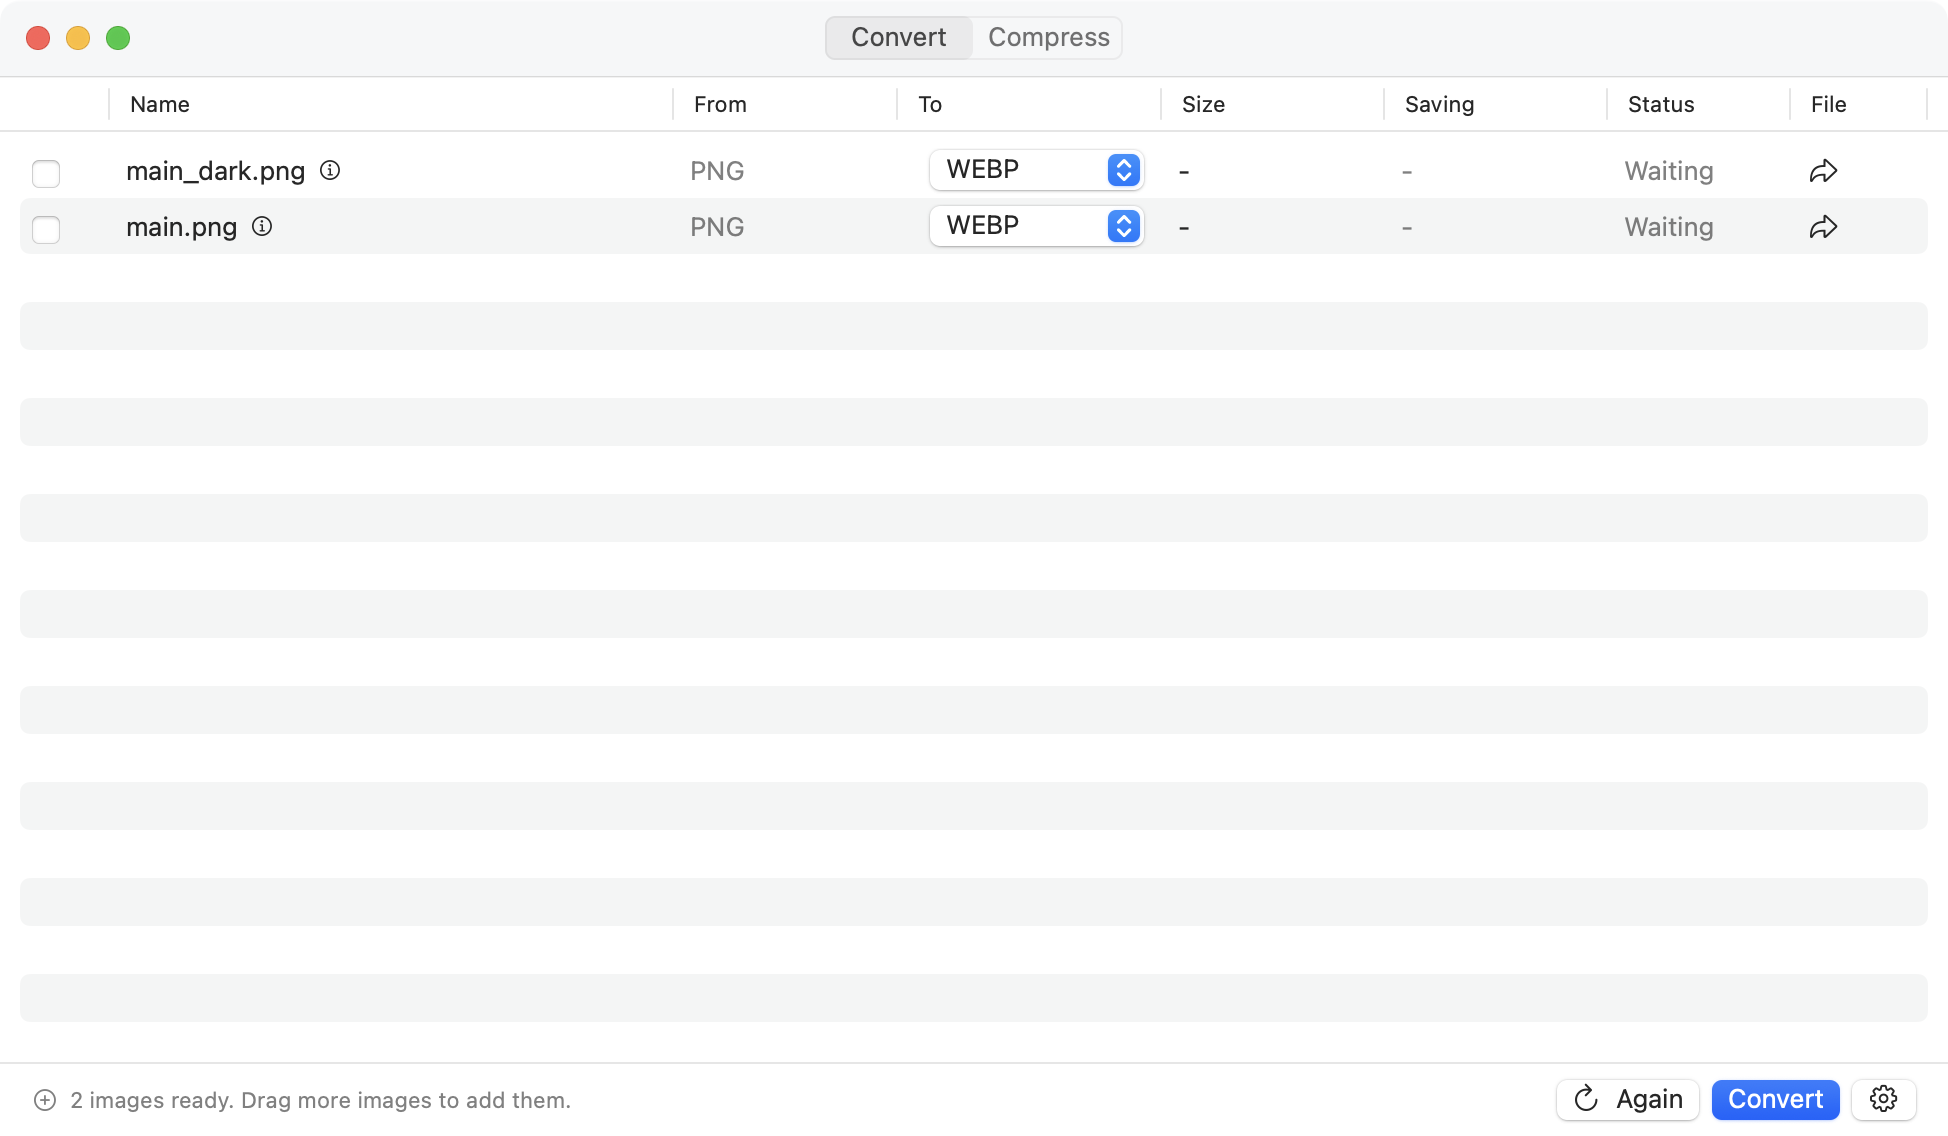
Use Picmal to easily convert your media on your Mac
If you're not happy with your purchase, you can request a refund within 14 days.
Buy now