An image file format defines how a picture is stored as data: how pixels, colors, and compression are organized inside the file. That’s why a PNG screenshot can be 2MB while the same image as JPEG is 200KB. For quick conversions on Mac, a dedicated image converter like Picmal handles this in seconds.
Decoding Your Digital Images
Every time you hit “Save As” and pick a format, you’re deciding how that image will behave. A .jpg will be small but can’t do transparency. A .png preserves every pixel but the file might be ten times larger. A .tiff will be enormous and useless on the web, but a print shop will thank you for it.
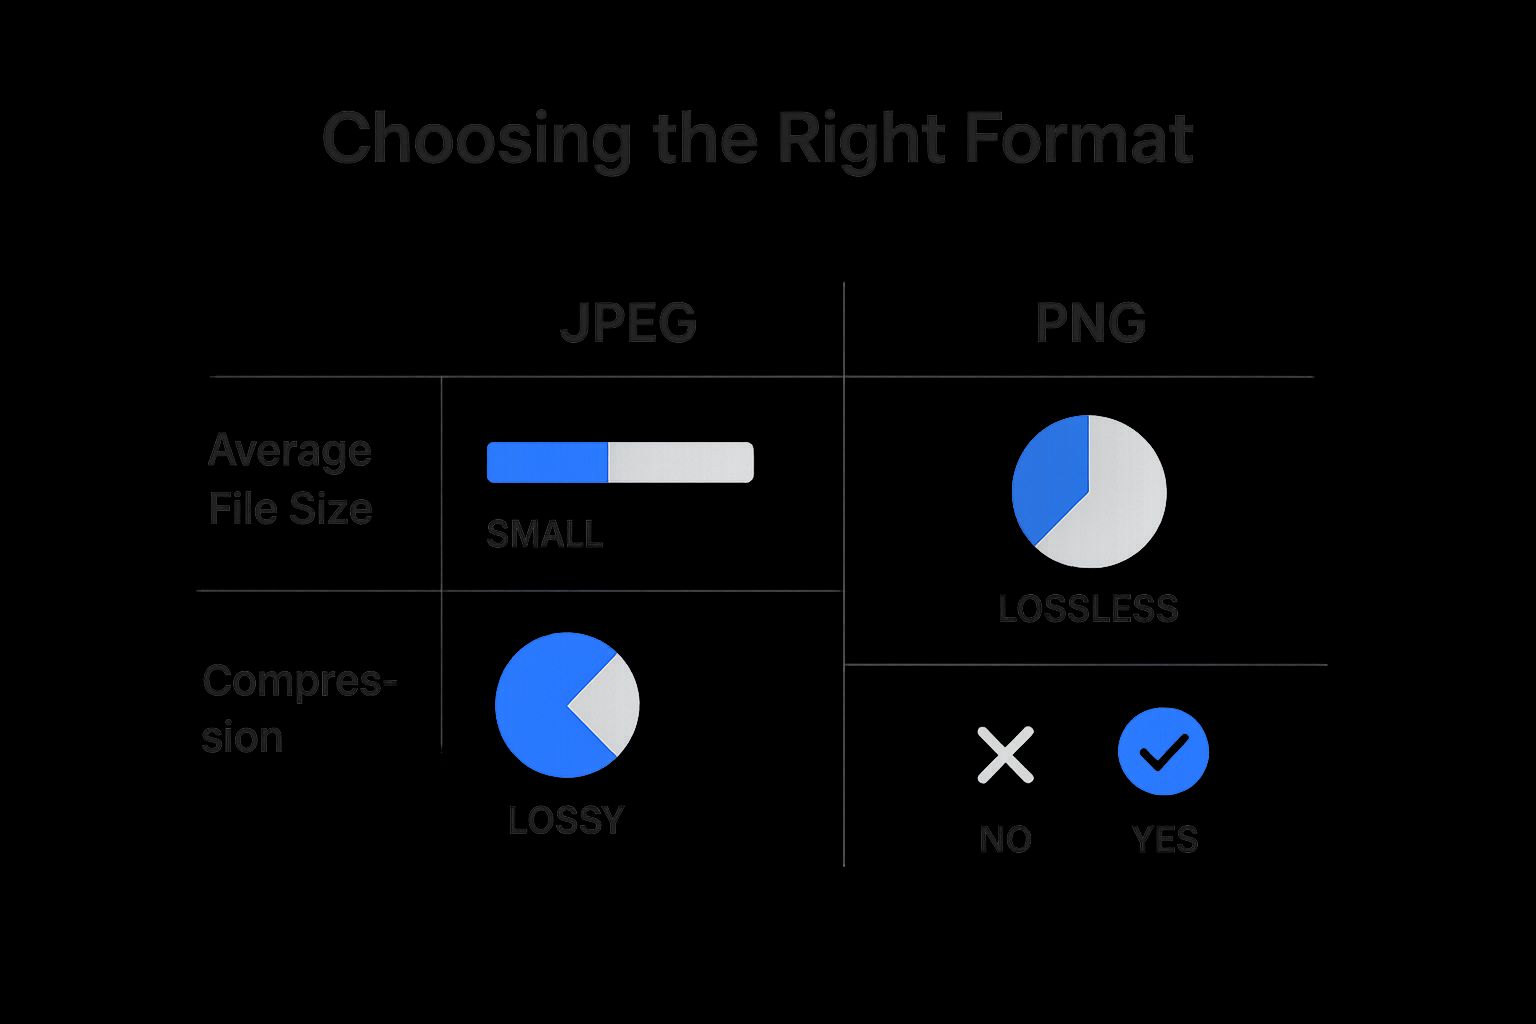
A JPEG uses lossy compression: it permanently discards data your eyes are unlikely to notice, shrinking the file dramatically. A 5MB photo becomes 300KB. The tradeoff is that the discarded data is gone for good.
The Two Core Families of Formats
All digital images fall into one of two families:
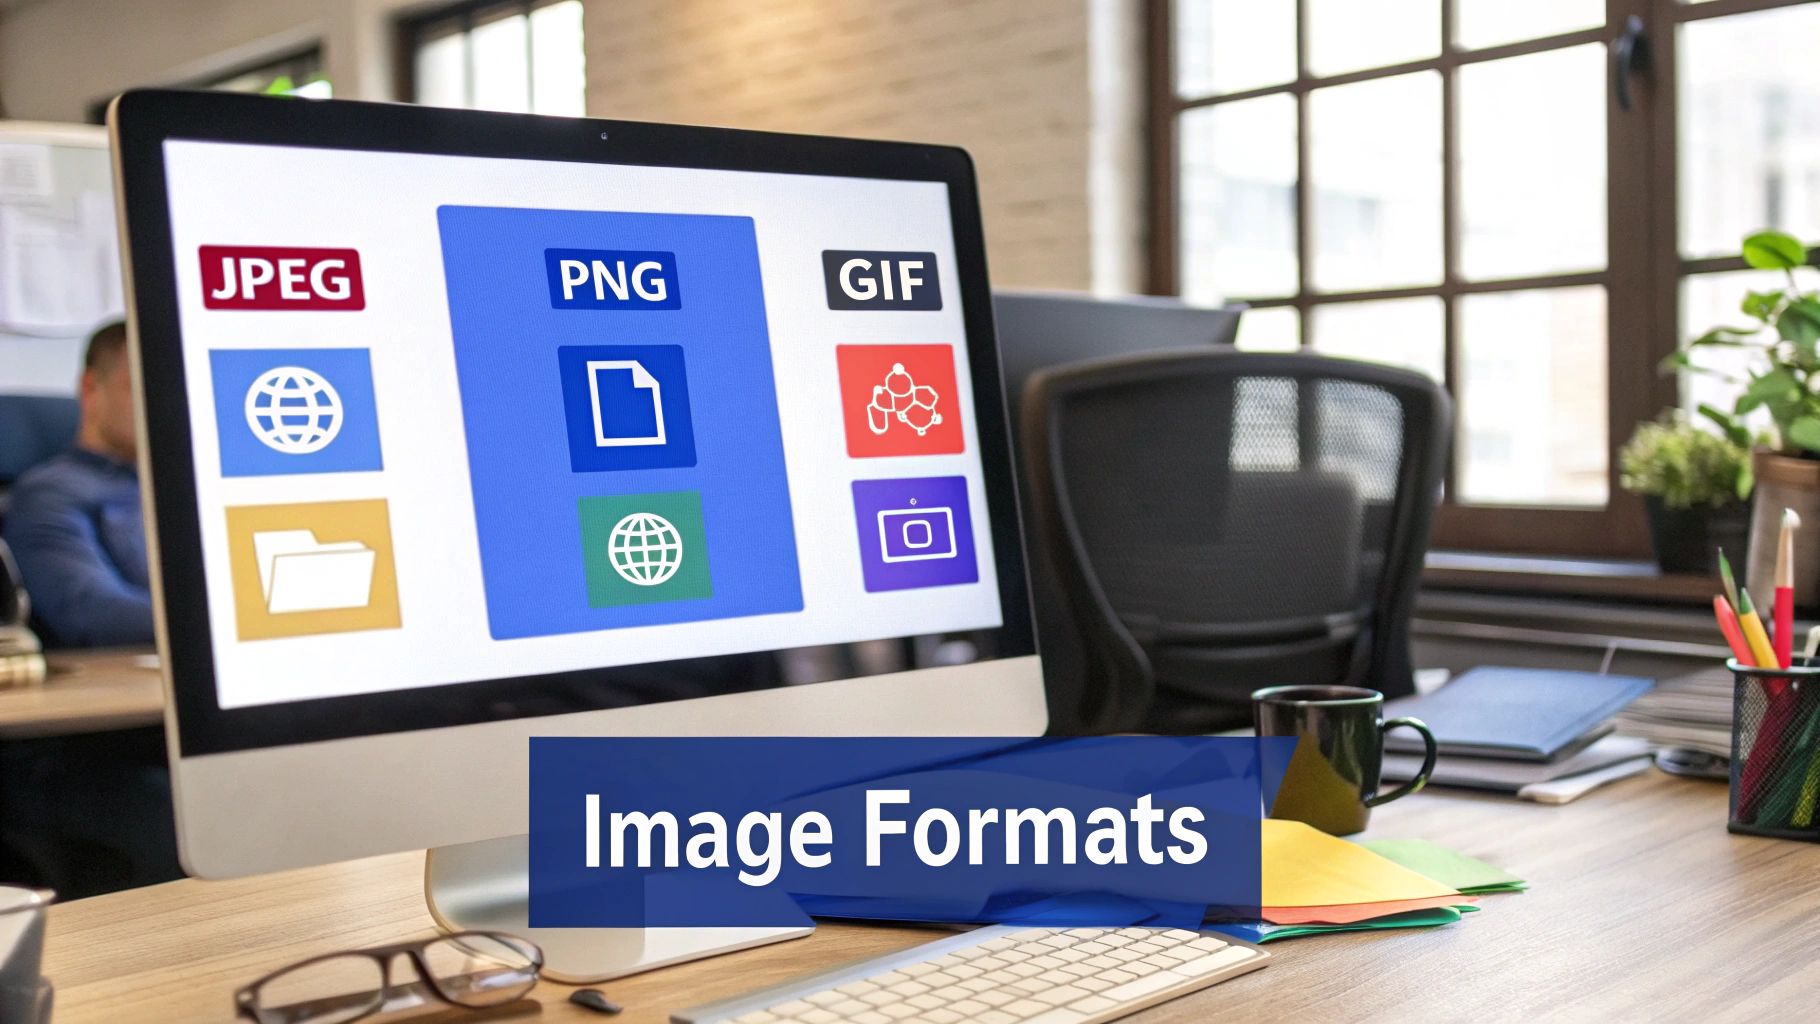
- Raster Formats: JPEGs, PNGs, GIFs. Built from a grid of colored pixels. Great for photographs and complex color gradients, but they fall apart when you enlarge them past their original resolution.
- Vector Formats: SVGs primarily. Built from math — coordinates, curves, paths. You can scale a vector logo to any size and it stays sharp, because there are no pixels to stretch.
A photographer and a web designer need different formats. This guide covers both, so you can pick the right one without guessing.
Let’s look at raster and vector in more detail, because this distinction affects every decision you’ll make about image formats.
A raster image is a grid of colored squares — pixels. Every photo your phone takes is raster. The pixel grid captures color gradients, shadows, and fine detail well, which is why it’s the standard for photography.
The limitation is baked into the structure. A 1000×1000 pixel image contains exactly one million pixels. Stretch it to 3000×3000 and the computer has to invent the missing eight million. It guesses badly. That’s pixelation: the blurry, blocky mess you see when you zoom too far into a photo.
The Power of Mathematical Blueprints
Vector images work differently. Instead of a pixel grid, the file contains instructions: “draw a line from here to here,” “fill this shape with this color.” The computer redraws the image from scratch at whatever size you need.
A vector file stores geometry, not pixels. Scale it to any size and it redraws at that resolution. No quality loss, ever.
This makes vectors the right choice for:
- Logos and icons that appear at 16px in a browser tab and 6 feet wide on a trade show banner
- Illustrations and line art with clean edges and solid fills
- Fonts — every typeface on your computer is vector, which is why text looks sharp at any size
When you need to batch convert images on a Mac, knowing whether you’re working with raster or vector files determines which output format makes sense.
The Role of Image Compression
A raw, uncompressed photograph from a modern camera can be 25MB or more. Multiply that by a hundred images on a webpage and you’d need a minute just to load the page. Compression reduces file size so images travel faster over the network.
There are two types of compression, and the format you choose usually locks you into one or the other.
Lossy Compression: Sacrificing Data for Speed
Lossy compression permanently discards data to shrink the file. The algorithm analyzes the image and throws away information your eyes are least likely to notice — subtle color variations, high-frequency detail in busy areas. The result is a much smaller file that looks almost identical to the original. Almost.
JPEG is the most common lossy format, used on roughly 72% of websites since it debuted in 1992. It’s still the default for photos on blogs, e-commerce sites, and social media because the size-to-quality ratio is hard to beat. Kinsta has a solid breakdown of image file types if you want the full picture.
Lossless Compression: Preserving Every Detail
Lossless compression finds more efficient ways to store the same data without removing any of it. The file gets smaller, but when you decompress it, every pixel is exactly where it was.
100% of the original image data survives. You can open, edit, and re-save a lossless file a thousand times and nothing degrades.
This makes lossless compression the right choice for:
- Logos and icons where a single blurry edge looks unprofessional
- Technical diagrams and screenshots with text that must stay readable
- Source files you’ll edit multiple times before final export
PNG is the most common lossless web format. The files are bigger than JPEGs, but the quality tradeoff is zero.
Choosing the Right Image Format for Your Project
Knowing the theory is step one. Step two is picking the right format for what you’re actually doing. A TIFF on a webpage wastes bandwidth. A JPEG for a logo with transparency is impossible. Each format has a job it’s good at and jobs it’s terrible at.
Matching the Format to the Task
Ask yourself: what does this image need to do?
-
Photographs on the web → JPEG. Lossy compression keeps file sizes small. No transparency, but millions of colors and broad compatibility. The default for blogs, product pages, and social media.
-
Graphics with transparency → PNG. Lossless compression keeps edges sharp and text readable. Larger files than JPEG, but no compression artifacts. The standard for logos, icons, and UI elements. For a full comparison, see our guide on the best image formats for the web.
Specialized Use Cases
A few formats exist for narrower purposes:
-
GIF: Only 256 colors, so photos look awful, but it’s still the default for short looping animations. Every chat app and social platform supports it.
-
TIFF: What print shops expect. Lossless compression (or none at all), which means enormous files but zero quality loss. You’ll never put a TIFF on a webpage, but a printer will love you for sending one.
JPEG vs PNG vs TIFF At a Glance
Here’s how the three main raster formats compare side by side:
| Feature | JPEG | PNG | TIFF |
|---|---|---|---|
| Best For | Web photos, email attachments | Logos, icons, web graphics with sharp lines | Professional print, archiving, photography |
| Compression | Lossy | Lossless | Lossless or uncompressed |
| Transparency | No | Yes (Alpha channel) | Yes (Supports layers and alpha) |
| Color Depth | Up to 16.7 million colors (24-bit) | Up to 16.7 million colors (24-bit) | Up to 48-bit color depth |
| File Size | Smallest | Medium to Large | Largest |
| Editing | Quality degrades with each save | Preserves quality perfectly | Best for editing, preserves all data |
| Web Use | Excellent | Very good, but can be large | Not suitable for web use |
The pattern is simple: JPEG trades quality for size, PNG trades size for quality, TIFF keeps everything and doesn’t care how big the file gets.
Exploring Modern and High Efficiency Formats
JPEG and PNG were designed in the early 1990s. Compression has improved a lot since then. Newer formats like WebP, AVIF, and HEIC squeeze images into significantly smaller files at the same visual quality.
The difference is real: a WebP file is typically 25-35% smaller than an equivalent JPEG. An AVIF file can be 50% smaller. On a page with twenty product images, that’s the difference between a one-second load and a three-second load.
Meet the Next Generation
WebP, developed by Google, handles both lossy and lossless compression, supports transparency, and has 97%+ browser coverage in 2025. It’s the safest modern upgrade from JPEG and PNG.
AVIF pushes compression further, producing files roughly 50% smaller than JPEG at similar quality. It’s royalty-free and supports HDR. The tradeoff is slower encoding and slightly less browser coverage. More details on how these formats compare at webdesignerdepot.com.
Both WebP and AVIF work in Chrome, Firefox, Safari, and Edge. The browsers that don’t support them are a shrinking fraction of web traffic.
You may still want to serve JPEG fallbacks via the HTML <picture> element, but for most sites the modern formats are ready as the primary option. We keep expanding format support in Picmal — see our changelog for the latest.
Which Image Format Is Best for Websites?
It depends on the image:
- Photographs → JPEG (or WebP for smaller files). Lossy compression handles complex color well.
- Logos and icons → PNG for raster, SVG for vector. Both support transparency; SVG scales without quality loss.
- Best overall performance → WebP. Handles photographs and transparency at smaller file sizes than JPEG or PNG.
A photograph saved as PNG will be needlessly huge. A logo saved as JPEG will lose its transparent background and get compression artifacts around the edges. Match the format to what’s in the image.
Can I Convert an Image from One Format to Another?
Yes. Adobe Photoshop, free tools like GIMP, or a batch converter like Picmal can all handle it.
But understand the limitation: converting a JPEG to PNG does not restore the data that lossy compression already threw away. The PNG will be lossless from that point forward, but the damage from the original JPEG compression is baked in.
Also avoid opening and re-saving JPEGs repeatedly. Each save applies another round of lossy compression, and the artifacts accumulate. After a few cycles you’ll see blocky halos around edges and washed-out gradients.
Is a File Format the Same as a File Extension?
Related, but not the same.
The file format is the internal structure: how pixels, colors, and metadata are organized inside the file. The file extension (.jpg, .png, .svg) is just a label on the filename that tells your operating system which program to use when you double-click it.
You can rename a PNG to .jpg and your computer will try to open it as a JPEG. It’ll either fail or display garbage, because the data inside is still PNG-formatted. The extension is a name tag; the format is the actual contents.