Watermarks
Add a logo or PNG watermark to videos during conversion in Picmal — perfect for branding client deliverables or marking previews as drafts.
Stamp a logo or PNG overlay onto videos during conversion. Handy for branding client deliverables, marking previews “draft,” or signing a batch of clips before they leave your Mac.
How to use
Section titled “How to use”- Open Settings → Watermark
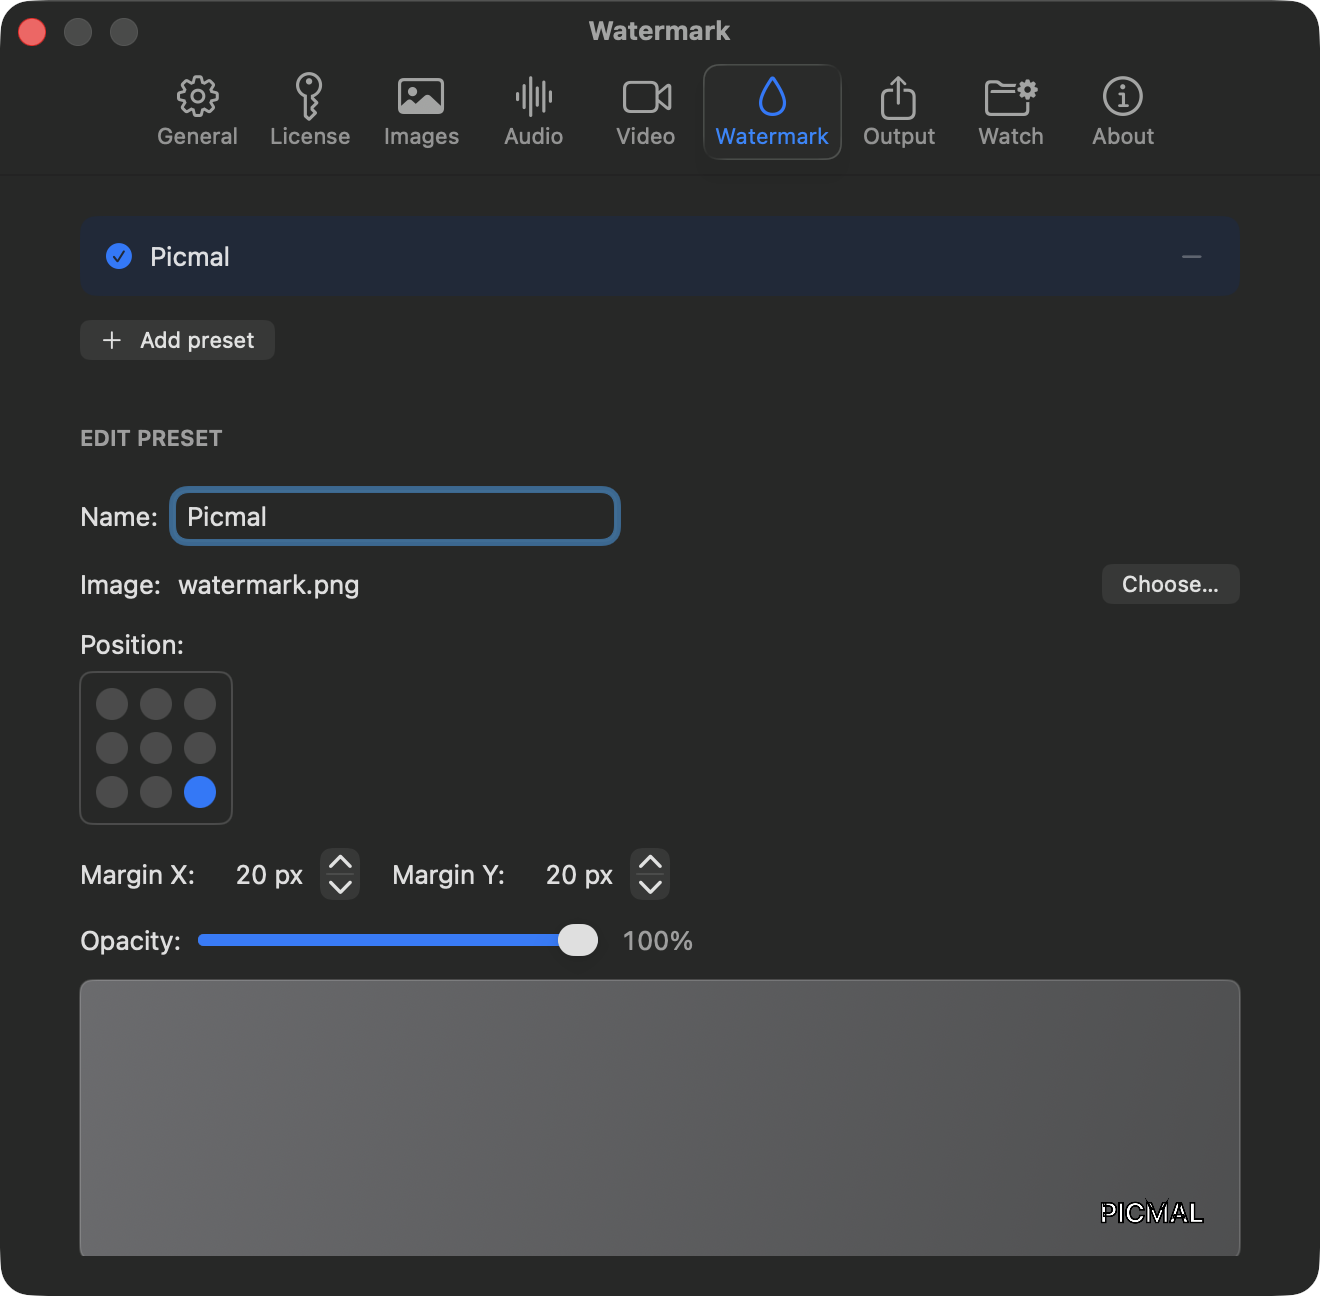
- Pick a PNG (transparency is preserved)
- Set position, margins and opacity
- Run your conversion. The watermark is baked into every output
The same preset applies to the whole batch, so you’re not fiddling with it per file.
Position
Section titled “Position”Pick one of nine anchor points on a 3×3 grid:
| Top-left | Top-center | Top-right |
|---|---|---|
| Middle-left | Center | Middle-right |
| Bottom-left | Bottom-center | Bottom-right |
Margins push the watermark away from whichever edge you picked. Opacity runs from 0 (invisible) to 100 (fully opaque).
Scale to image
Section titled “Scale to image”Turn on Scale to image in the watermark editor to size the watermark as a percentage of each image’s height. One preset stays visually consistent across photos with very different dimensions, so you won’t get tiny logos on 6000 px shots and oversized ones on thumbnails. Drag the height slider to set the percentage.

Presets
Section titled “Presets”Save as many watermark configurations as you need. A small logo tucked into the bottom-right for client work, a fat “PREVIEW” slab for social, whatever your workflow asks for. Switch between presets from the Watermark settings without setting everything up again.
- Use a PNG with transparency, otherwise you’ll get a white rectangle sitting behind your logo.
- Tiny watermarks scaled onto large videos can go aliased and crunchy; export your logo close to the size it’ll appear at.
- Watermarks are burned in during encoding. Once the file is out, they’re not coming off.