When I first started building Picmal, a simple image converter for macOS, the App Store was the obvious destination. That changed quickly.
After paying for the Apple Developer license and getting my first version ready, I hit an unexpected wall: every time users tried to save an image, a permission dialog appeared. It was intrusive and ruined the experience. The cause? Apple’s sandbox restrictions.
The only way around it was to skip the App Store entirely and distribute the app independently.
But before that, some context. I built Picmal because I was tired of the same ritual every time I needed to convert an image: open a browser, find an online converter, upload the file, wait for it to process on some server, download the result. I wanted something that ran locally and didn’t involve a browser tab.
So I decided to make it native, even though I had never built a fully native app before. That was challenge number one. Challenge number two was finding a smooth way to share it without the App Store.
After some research, I discovered Gumroad. It turned out to be the simplest way to sell and distribute my app directly. Here’s how I did it:
Step 1: Build and Export the App from Xcode
Once your app is ready for release, do the following:
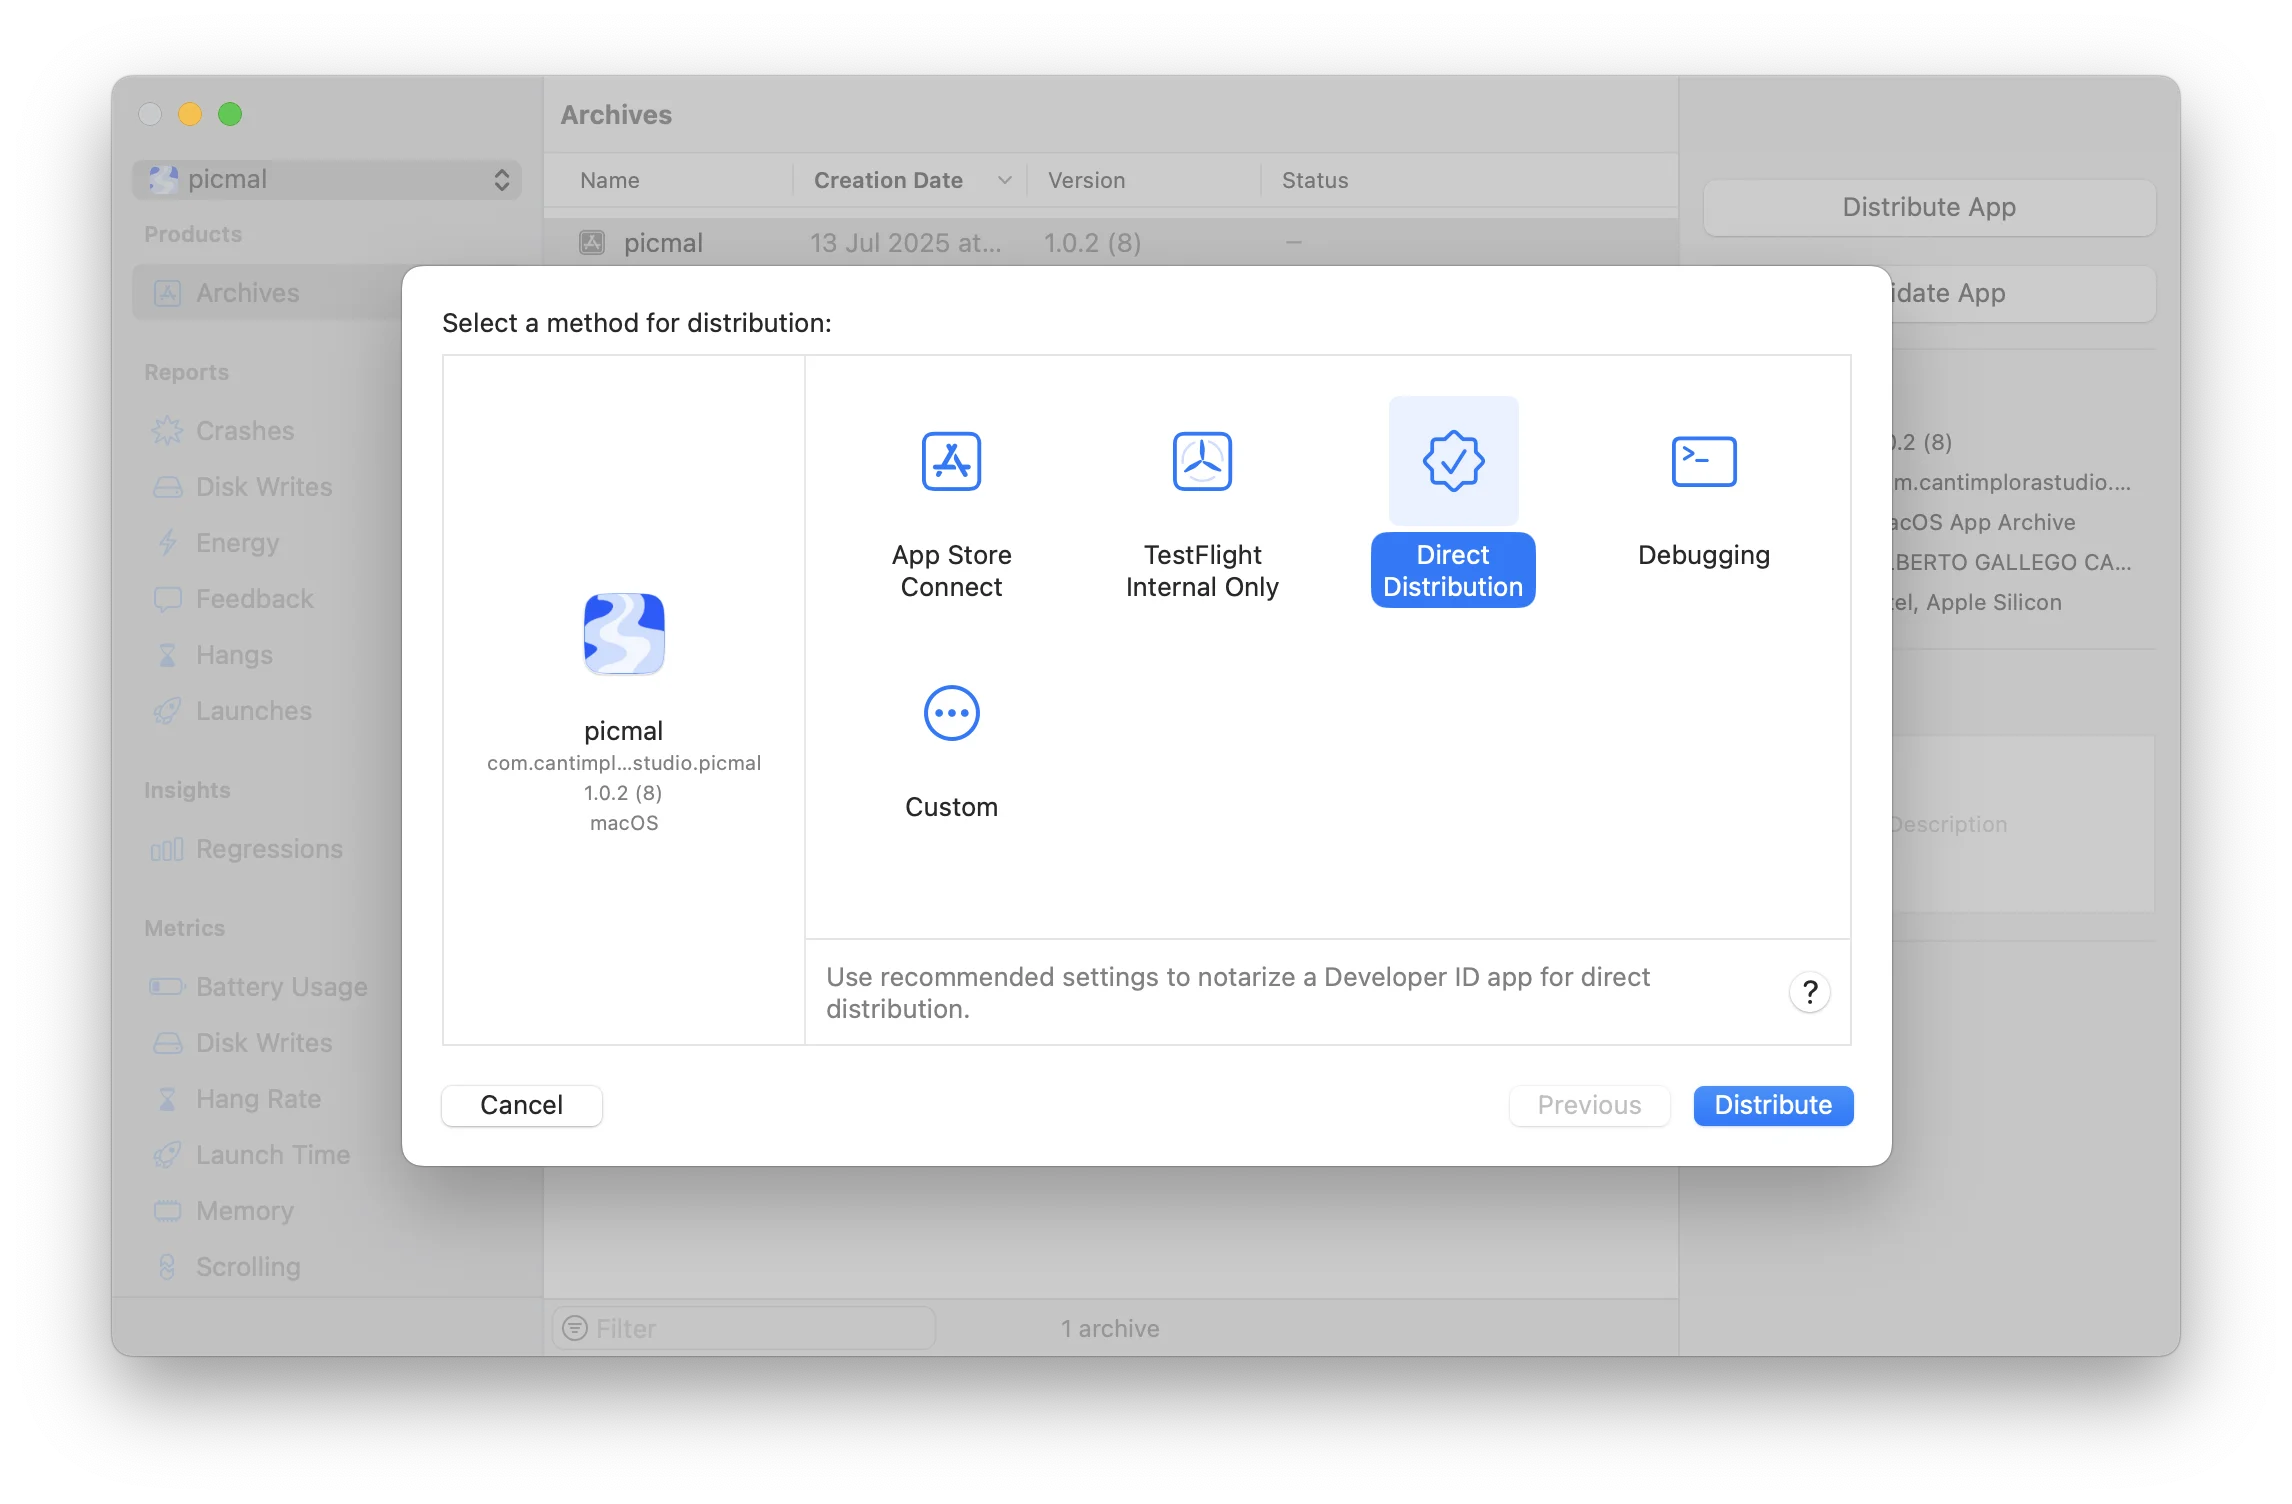
- In Xcode, go to Product > Archive. Select the method “Direct distribution”.
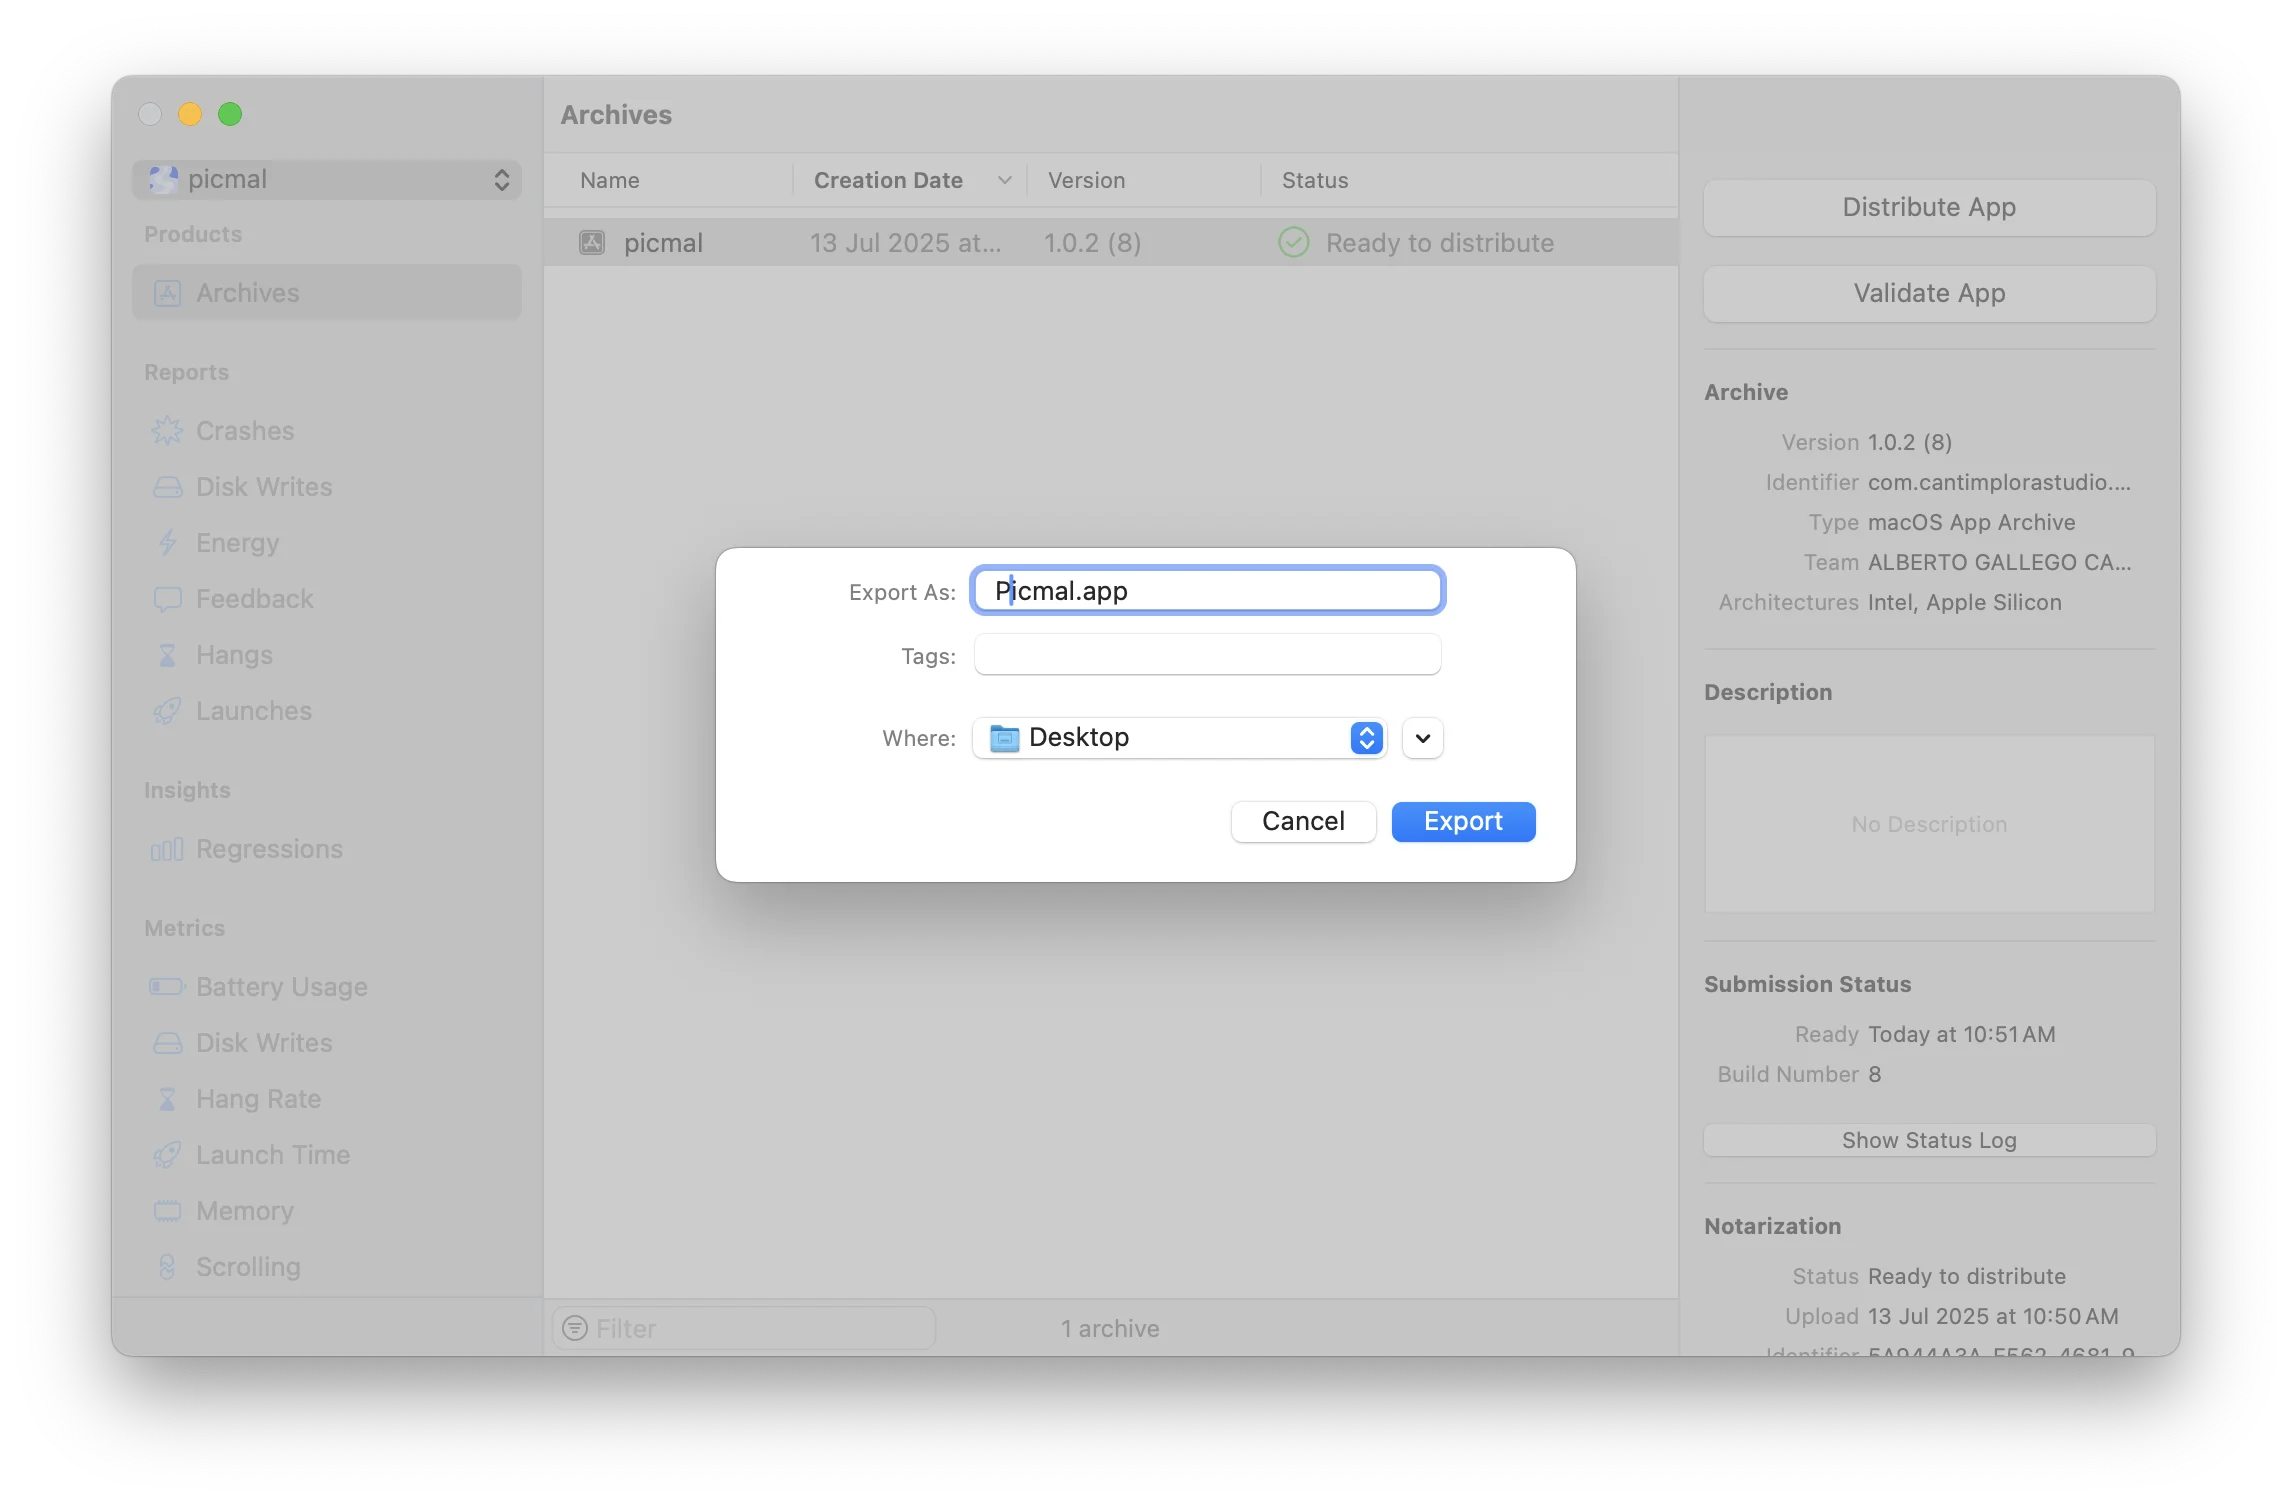
- Wait until the build status shows “Ready for Distribution”.
- Click on “Export” and you will export the
.appfile.
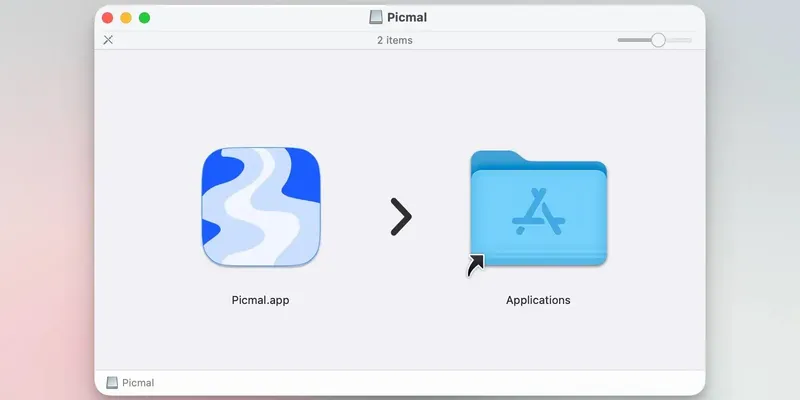
Step 2: Create a DMG Installer
Shipping a bare .app file feels unfinished. I used create-dmg, a CLI tool by Sindre Sorhus that produces a proper DMG with an Applications folder shortcut and a clean layout:
# Install create-dmg if you haven't alreadybrew install create-dmg
# Create the DMG installercreate-dmg \  --volname "Your App Name" \  --window-pos 200 120 \  --window-size 600 300 \  --icon-size 100 \  --icon "YourApp.app" 175 120 \  --hide-extension "YourApp.app" \  --app-drop-link 425 120 \  "YourApp.dmg" \  "source_folder/"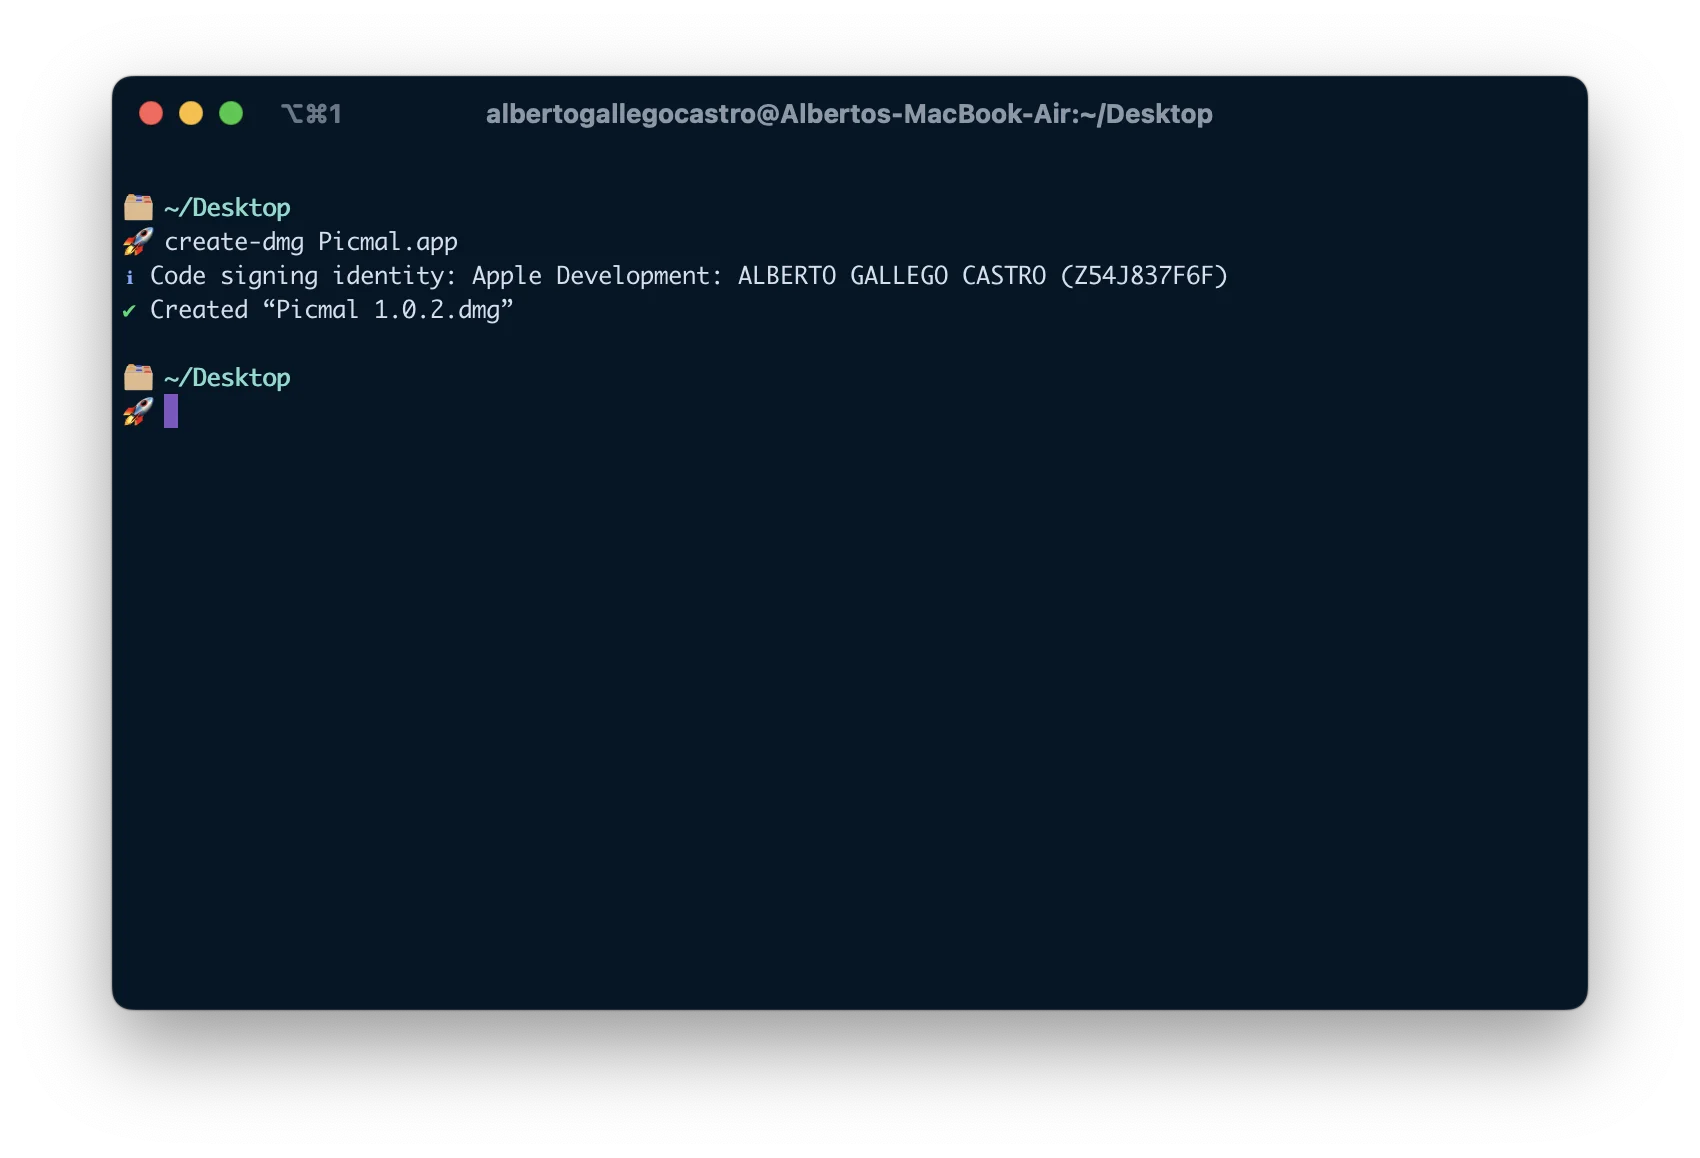
You’ll have a DMG, but it’s not ready yet. Without notarization, macOS will block it with this lovely warning:
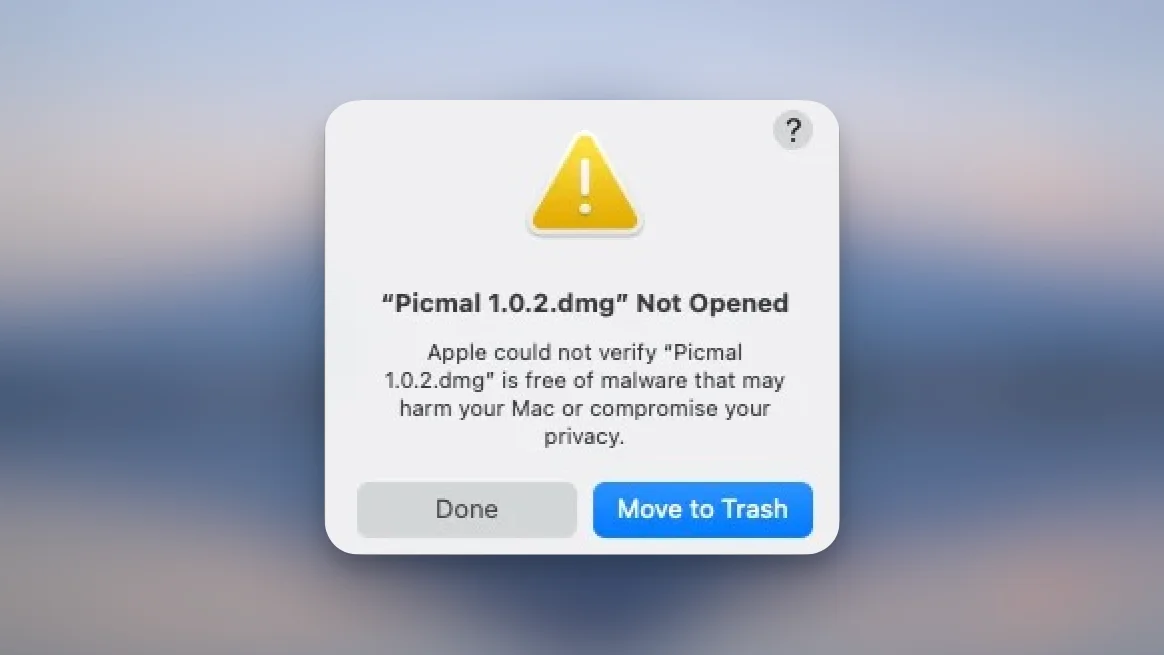
Step 3: Notarize DMG installer
Save a credentials profile first, so you don’t have to dig up passwords every time you release an update:
xcrun notarytool store-credentials --apple-id "your-email@example.com" \ --team-id "YOUR_TEAM_ID_HERE" \ --password "your-app-specific-password" \ your-app-profileNote: The password you use here must be an app-specific password generated from your Apple ID account. Regular Apple ID passwords will not work for notarization. If you haven’t created one before, follow Apple’s instructions to generate an app-specific password for use with
notarytool.
After creating the profile you need to notarize the DMG file with your newly created profile:
xcrun notarytool submit YourApp.dmg --keychain-profile "your-app-profile" --waitNow you need to staple the DMG:
xcrun stapler staple YourApp.dmgVerify the notarization worked:
spctl --assess --type open --context context:primary-signature -v YourApp.dmg
# Expected output:# YourApp.dmg: accepted# source=Notarized Developer ID
If the output says accepted, you’re done. Upload the DMG to Gumroad (or wherever you sell) and start shipping.